Materials
Gather these supplies
- Lightweight stable door or frame
- New 2×4 base lumber
- Two diagonal braces
- Structural screws
- Anti-tip wall cable
 DiamondTrail Ranch
Free step-by-step project guide
A decorative door or frame secured in a supervised indoor area for book, product and harvest photographs.
What you are making
Create a low, anti-tip photo wall without placing heavy salvage where animals or children could pull it over.
Materials
Tools
Measurements
Build it in order
Read the entire plan before making the first cut or hole. The check under each step tells you when it is ready to move forward.
Use a stable lightweight piece with intact coating and no loose glass or hardware.
Wall mounting into studs is preferred; otherwise design a wide T-shaped base.
Fasten a long rear foot and shorter front foot to two upright cleats.
Brace both uprights back to the long foot and fasten the backdrop to the cleats.
Connect the top to a wall stud or fixed anchor with a rated cable.
Mark tripod and table locations so people do not step over the base.
Use and maintenance
Safety boundaries
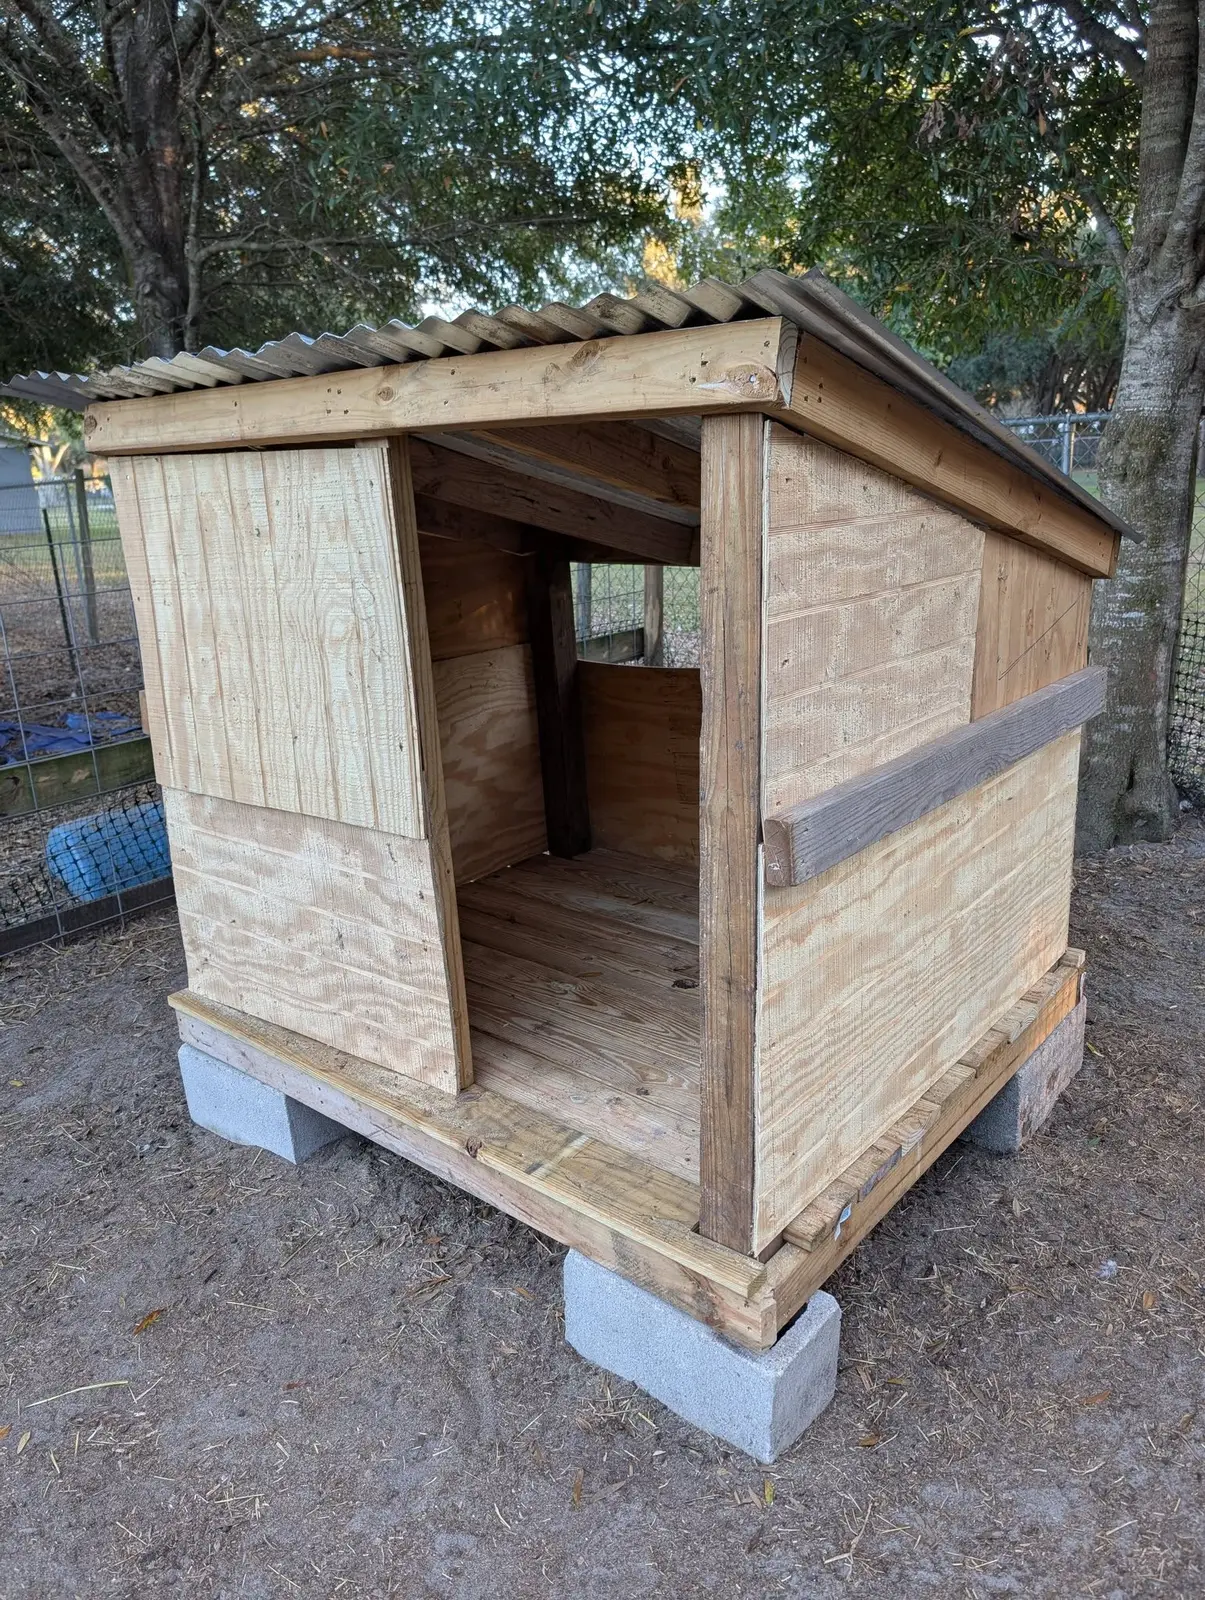
Build alongside our family
These written plans give you the order and measurements. Our YouTube videos show the ordinary problem-solving, repairs and family work that inspired this library.
Use the rest of the material
Reused materials and sites vary. Inspect every material, follow the manufacturer’s tool instructions and use appropriate protective equipment. Stop and ask a qualified person when structural loads, electrical work, pressurized plumbing, drinking water, hazardous coatings, animal security or local requirements exceed your experience.
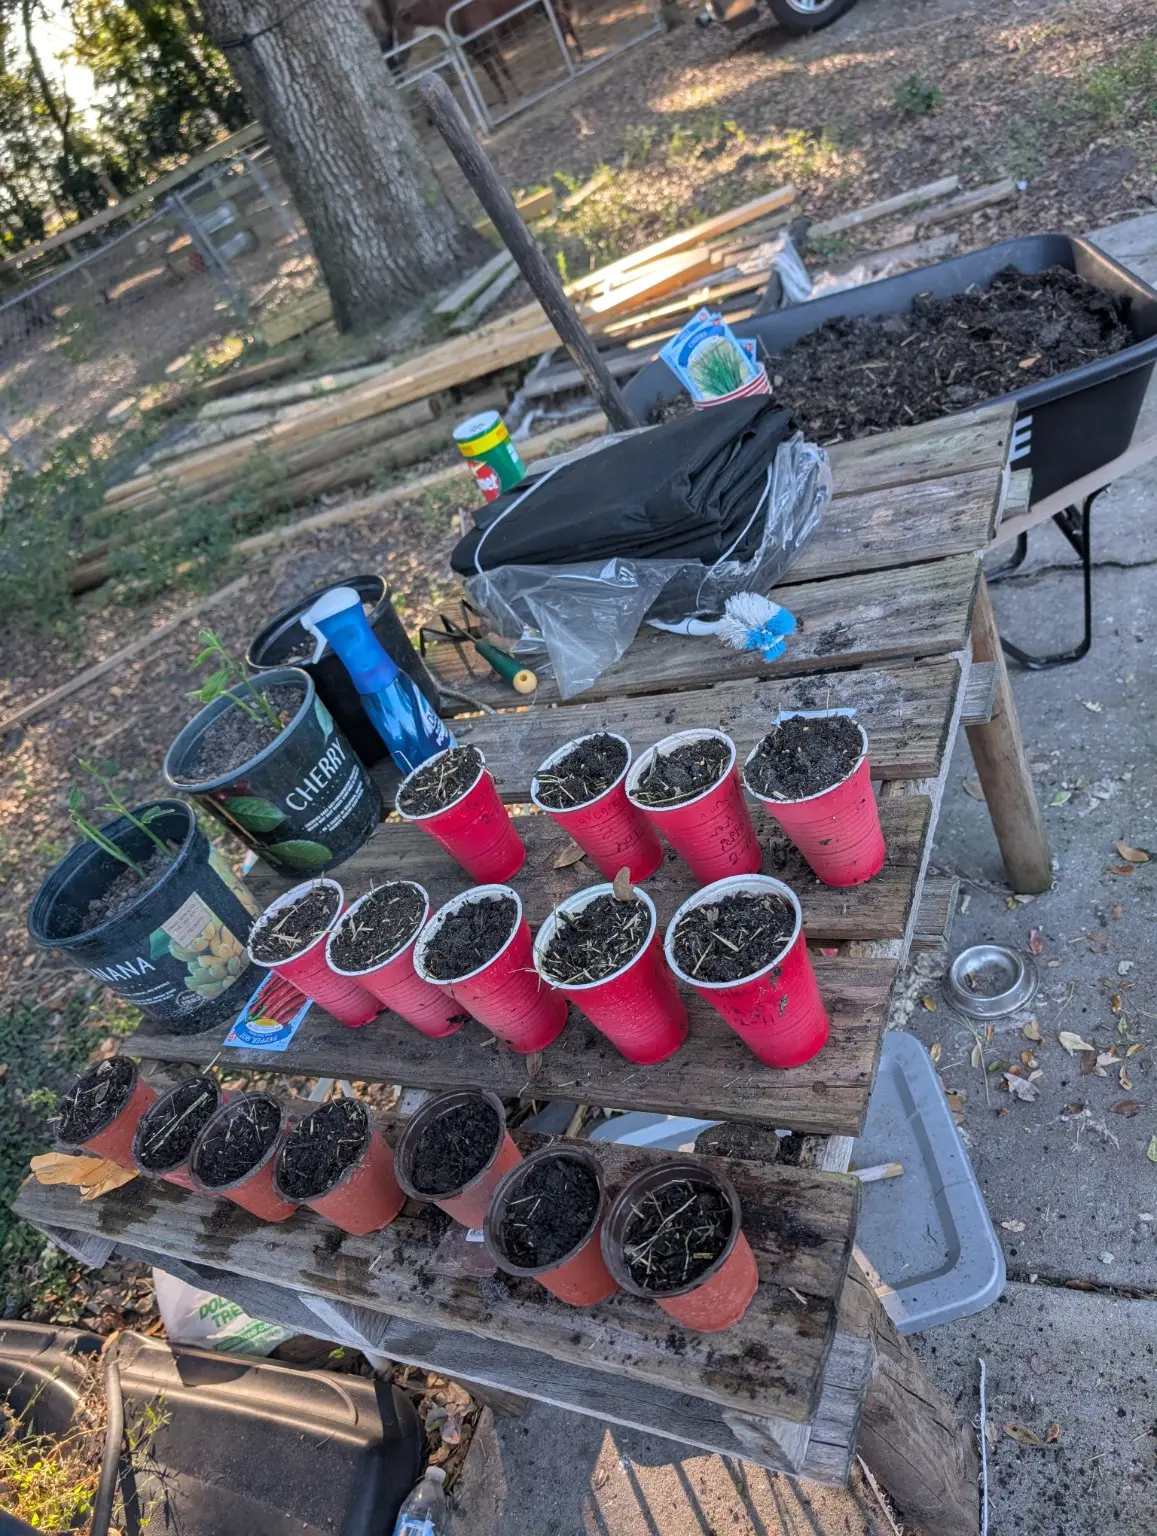 Advanced / get help · One weekendBuild a Vented Cold Frame with an Old Window
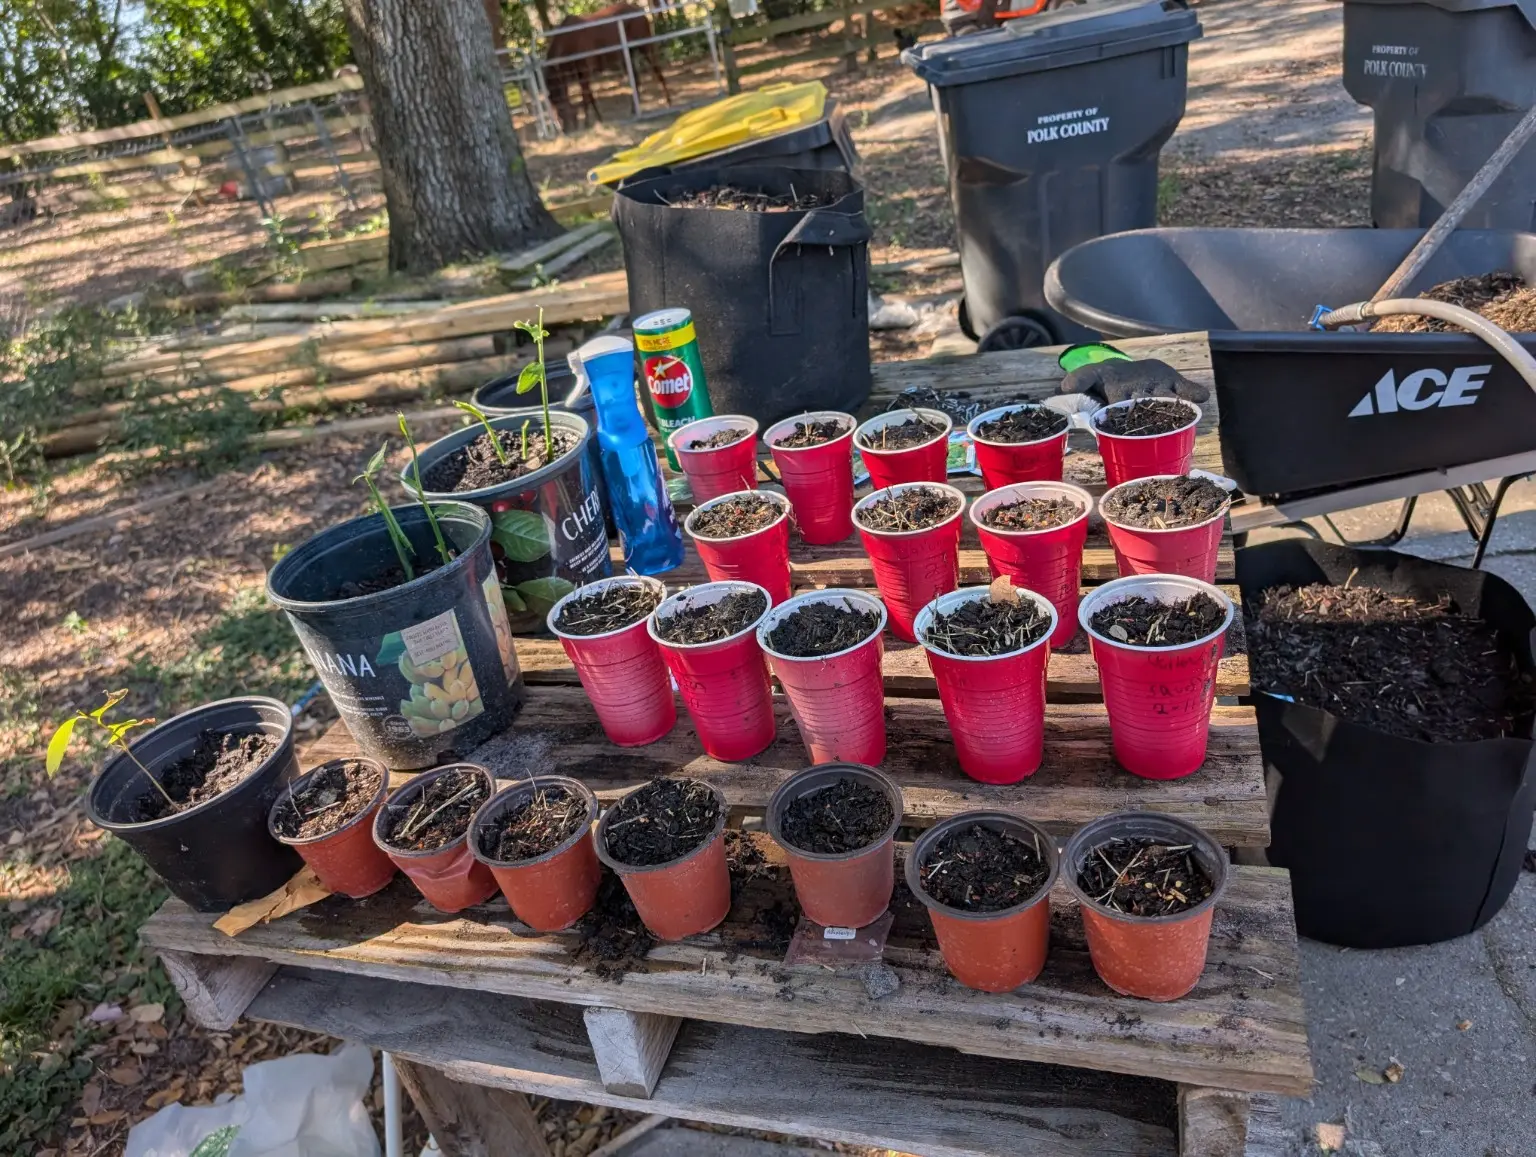 Advanced / get help · One weekendTurn a Solid Door into a Potting-Bench Top