Materials
Gather these supplies
- Sound intact window
- Flashing system compatible with cladding
- Structural framing lumber
- Approved exterior fasteners
- Written installation plan
 DiamondTrail Ranch
Free step-by-step project guide
A decision and installation-prep guide that stops before structural, flashing or wind-load work exceeds DIY experience.
What you are making
Choose a sound window and produce an opening, flashing and fastening plan reviewed for the actual shed and Florida wind exposure.
Materials
Tools
Measurements
Build it in order
Read the entire plan before making the first cut or hole. The check under each step tells you when it is ready to move forward.
Reject cracked glass, loose glazing, rot and hazardous coatings that cannot be safely managed.
Identify studs, bracing, utilities, cladding and whether the wall carries roof or wind loads.
If the opening changes structural bracing, utilities or engineered wind resistance, hire a qualified installer.
Plan sill pan, side flashing, head flashing and drainage layers compatible with the shed.
Check permit, product approval and wind-load needs for the structure and county.
Follow a reviewed plan and inspect framing, flashing and operation before closing interior surfaces.
Use and maintenance
Safety boundaries
Build alongside our family
These written plans give you the order and measurements. Our YouTube videos show the ordinary problem-solving, repairs and family work that inspired this library.
Use the rest of the material
Reused materials and sites vary. Inspect every material, follow the manufacturer’s tool instructions and use appropriate protective equipment. Stop and ask a qualified person when structural loads, electrical work, pressurized plumbing, drinking water, hazardous coatings, animal security or local requirements exceed your experience.
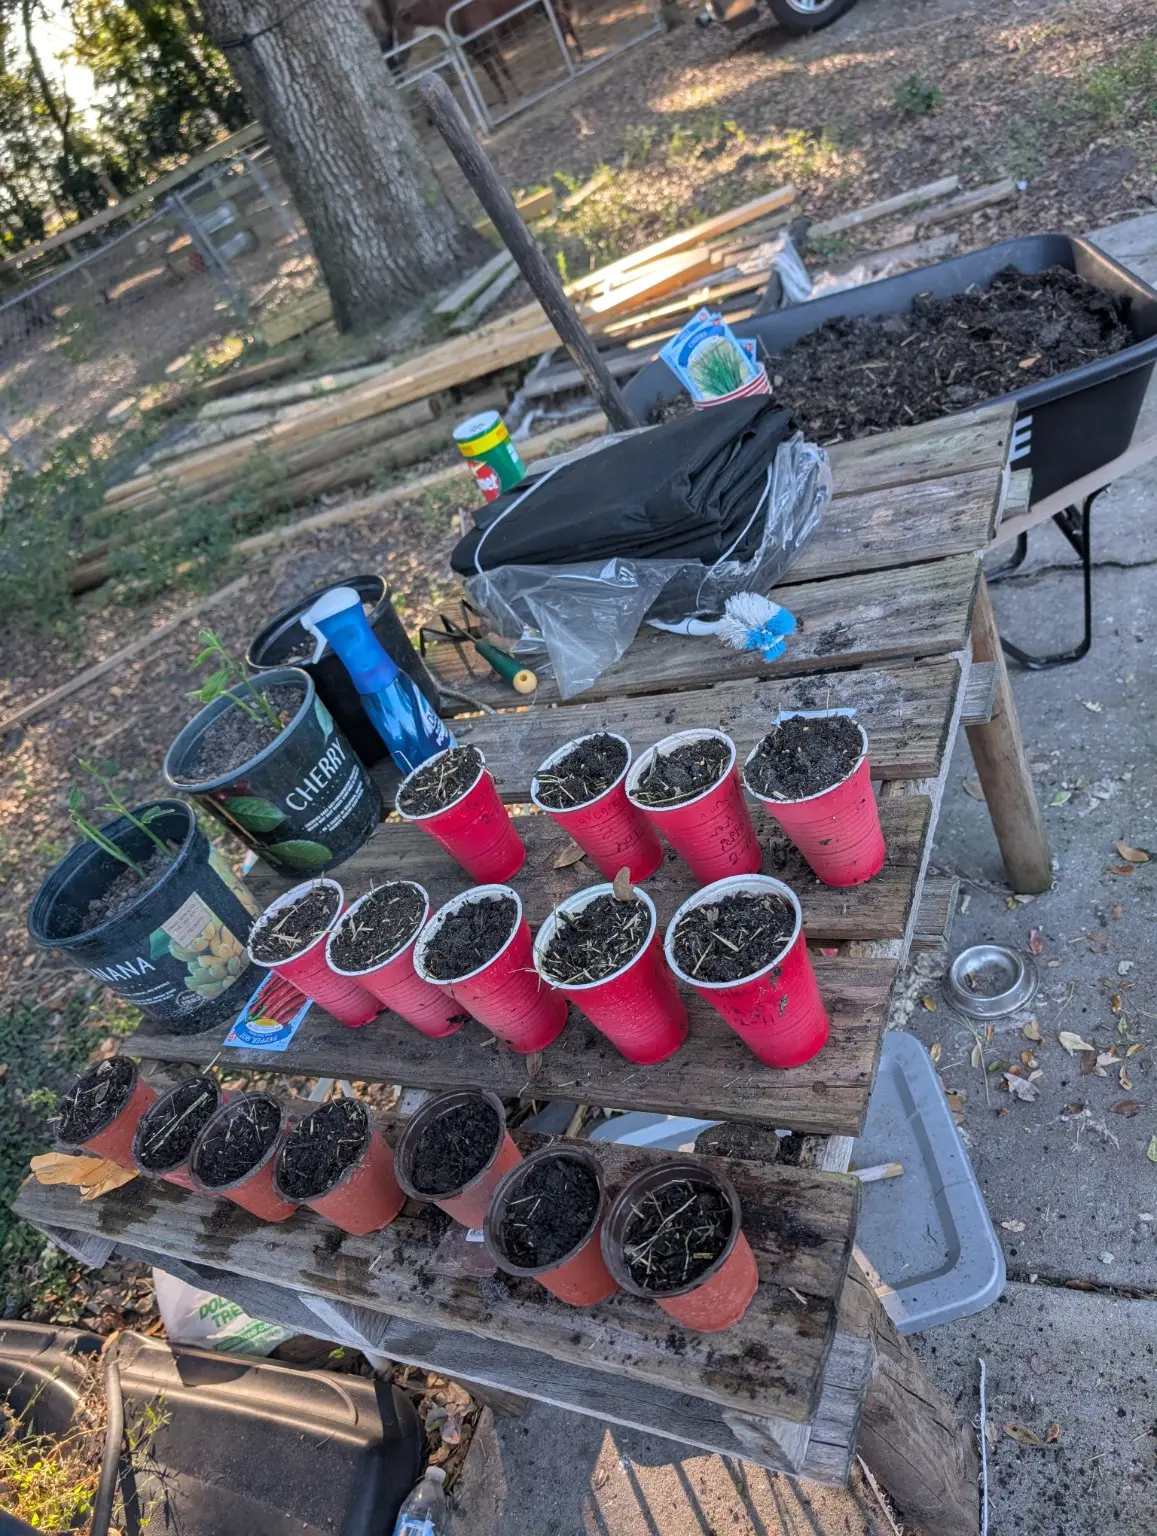 Advanced / get help · One weekendBuild a Vented Cold Frame with an Old Window
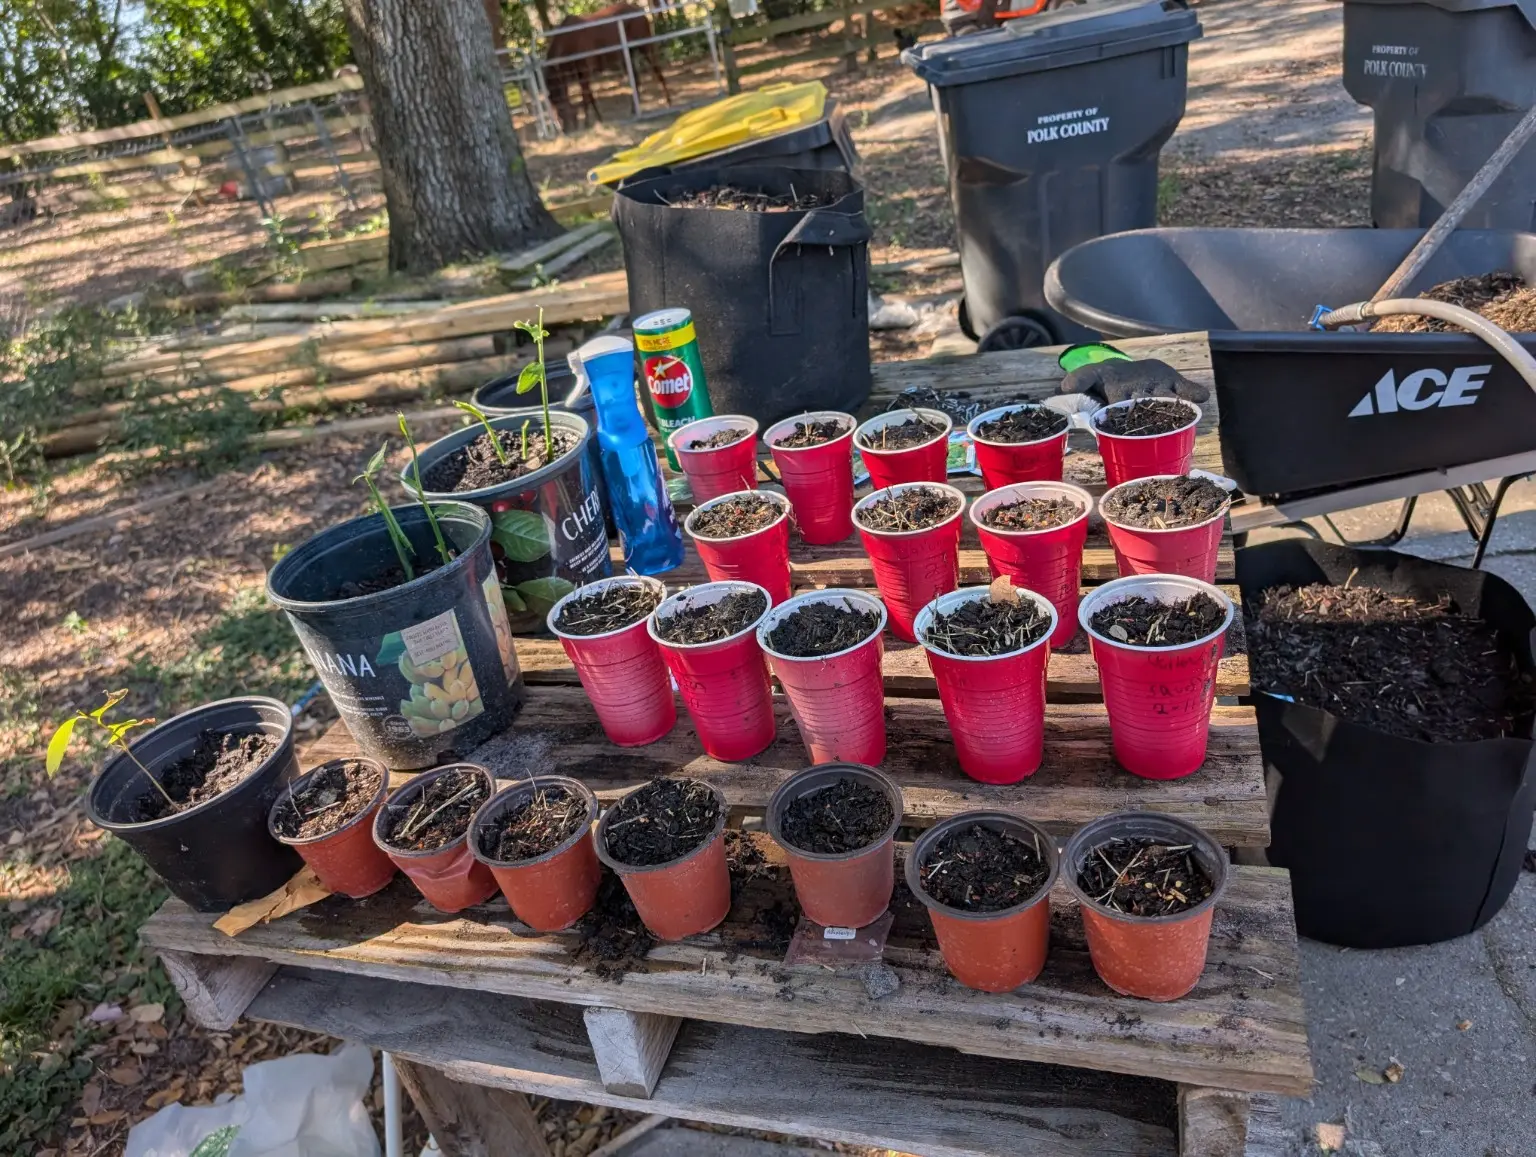 Advanced / get help · One weekendTurn a Solid Door into a Potting-Bench Top