Materials
Gather these supplies
- Two matching known food-grade buckets
- Small perforated food-safe cup
- Clean fill tube
- Loose container mix
- Landscape fabric scrap
- Mosquito-proof cap or screen
 DiamondTrail Ranch
Free step-by-step project guide
A reservoir planter with an overflow hole so roots wick moisture without drowning in summer rain.
What you are making
Nest one drilled food-grade bucket over a shallow reservoir with a visible fill tube and overflow.
Materials
Tools
Measurements
Build it in order
Read the entire plan before making the first cut or hole. The check under each step tells you when it is ready to move forward.
Nest the buckets and mark where the inner bottom sits inside the outer reservoir.
Cut a snug hole in the inner bottom for the perforated cup and small aeration holes nearby.
Cut an angled tube end and pass it through a snug opening to the reservoir bottom.
Drill through the outer bucket at the maximum water line below the inner floor.
Fill the cup firmly with moist mix, cover large gaps with fabric and fill the planter loosely.
Water from the top once, then fill the reservoir until overflow begins. Screen the tube opening.
Use and maintenance
Safety boundaries
Build alongside our family
These written plans give you the order and measurements. Our YouTube videos show the ordinary problem-solving, repairs and family work that inspired this library.
Use the rest of the material
Reused materials and sites vary. Inspect every material, follow the manufacturer’s tool instructions and use appropriate protective equipment. Stop and ask a qualified person when structural loads, electrical work, pressurized plumbing, drinking water, hazardous coatings, animal security or local requirements exceed your experience.
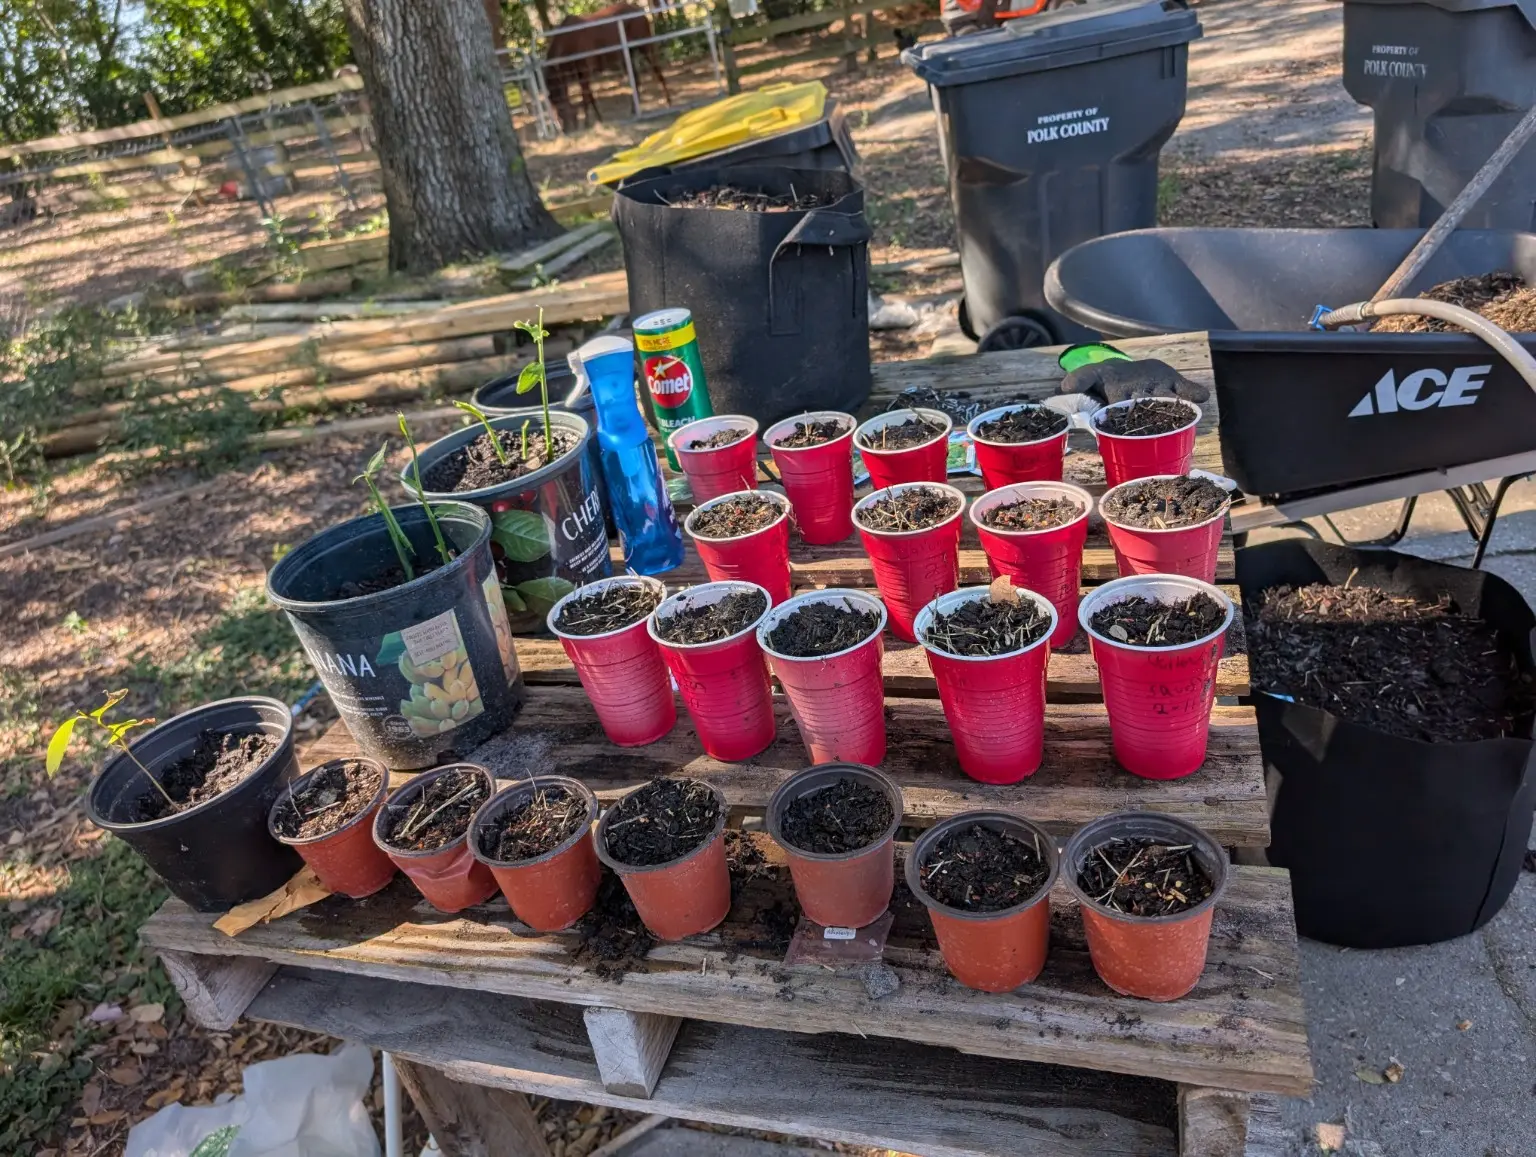 Easy · 20–45 minutesTurn a Bucket into a Garden Tool Tote
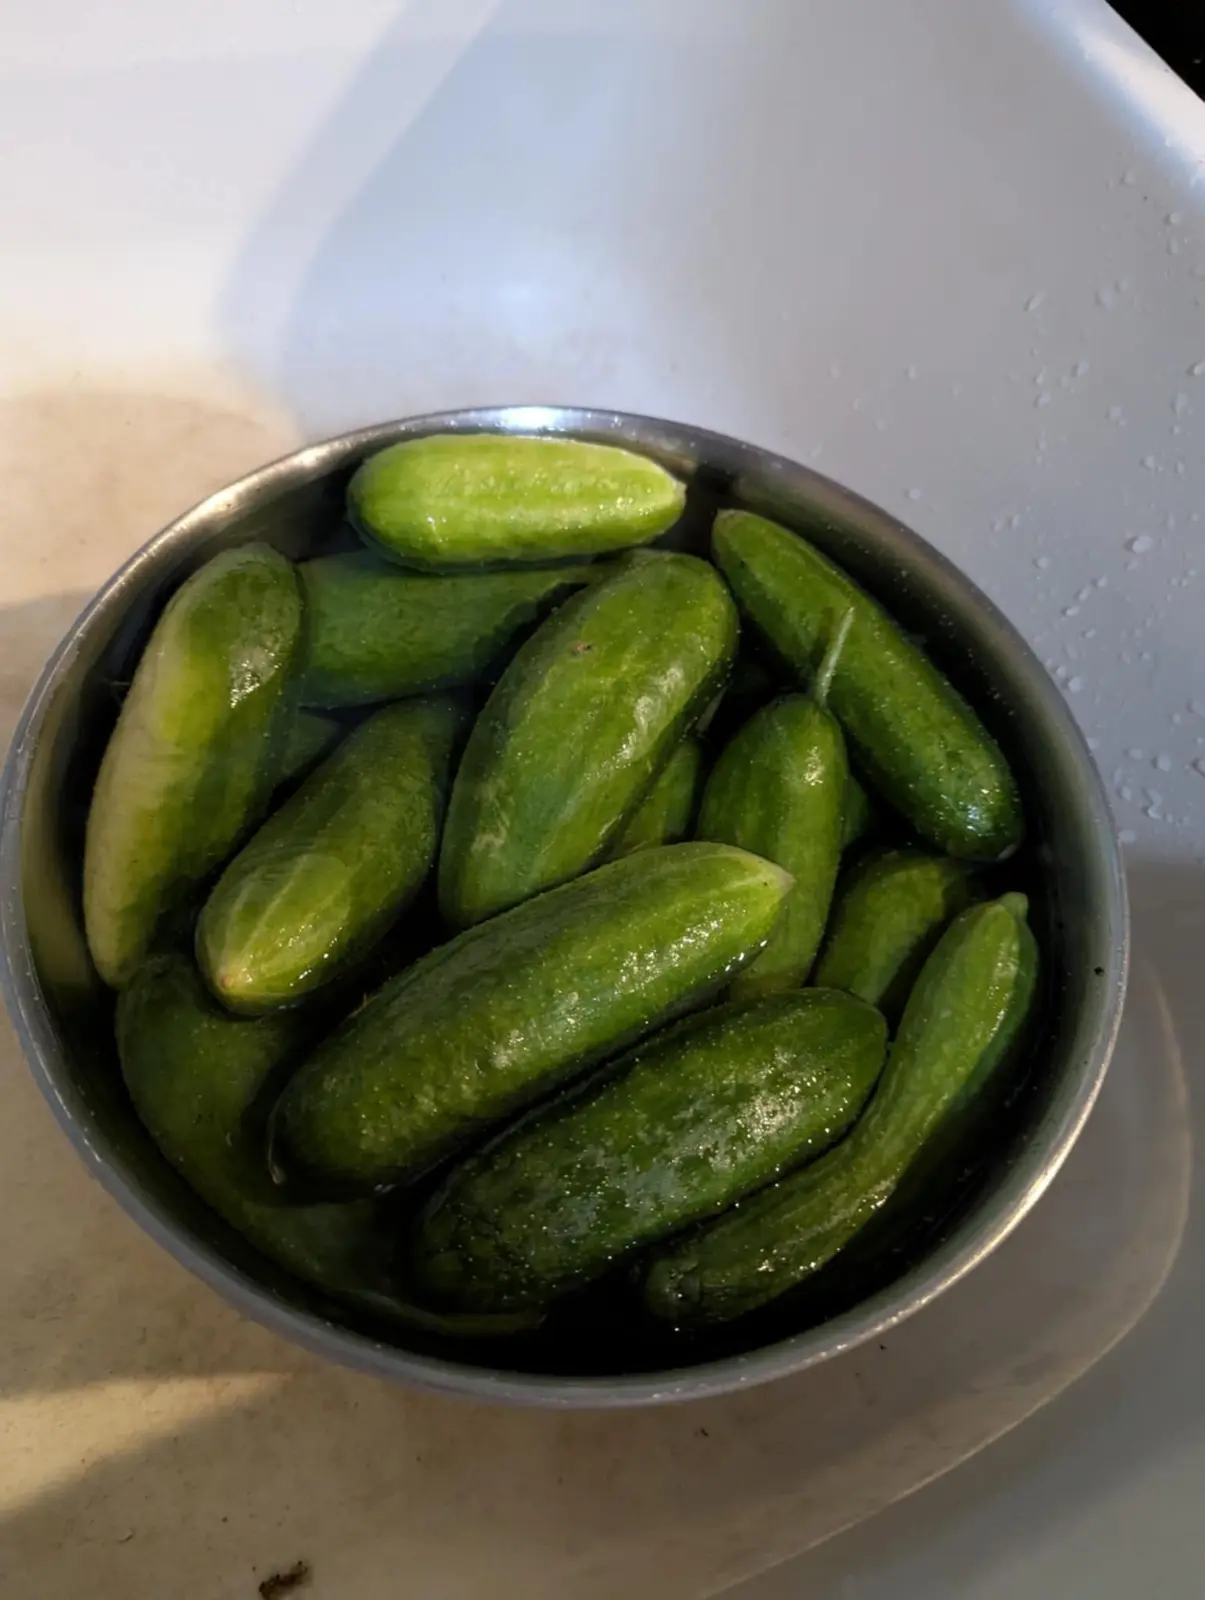 Easy · 30–45 minutesMake a Bucket Harvest-Wash Colander