What makes Florida sandy soil difficult?
Sand particles are large compared with silt and clay. The spaces between them let water move downward quickly, which is excellent for drainage but gives roots less time to take up moisture. Those same conditions make mobile nutrients, especially nitrogen and potassium, easier to move below a shallow vegetable root zone when rain or irrigation is excessive.
Many Florida sands also begin with little organic matter. Organic matter acts less like a permanent ingredient and more like a working reserve: it helps hold moisture and nutrients, supports soil organisms and changes the feel of the root zone. Florida warmth keeps biological activity moving, so that reserve decomposes rapidly and must be replenished.
| What you notice | What may be happening | Most useful response |
|---|---|---|
| Water vanishes quickly | Large pores drain rapidly | Finished compost, surface mulch and root-zone irrigation |
| Plants fade after feeding | Nutrients may be used, tied up or leached | Soil testing and smaller split applications |
| Bare soil gets hot | Sun reaches the surface directly | An appropriate mulch layer and living cover |
| Bed looks sandy again | Organic matter is decomposing | Top-dress and rebuild every season |
The good news about gardening in sandy soil
Sandy soil usually drains well, is easier to dig than heavy clay, allows roots to penetrate readily and warms quickly. Once the upper root zone receives regular organic matter and the surface stays covered, those strengths become useful. We are building a productive layer within the sand while keeping its drainage advantage.
The best way to improve sandy soil: keep adding organic matter
The central principle is simple: add stable organic matter and continuously replenish it. Finished compost is the most predictable all-purpose starting point. Aged or composted manure, shredded leaves, decomposed yard material, cover-crop residue and the lower layers of organic mulch can all contribute when used in the right place and condition.
Organic matter improves more than the color of the bed. It gives water and nutrient ions more places to stay, supports soil organisms and creates a friendlier root environment. The result is not permanent. Think of it like maintaining a pantry rather than pouring a concrete foundation: crops and microbes draw it down, so every season brings another small deposit.
1. Start with finished compost
Finished compost brings decomposed plant material, a relatively stable form of organic matter and a diverse mix of nutrients. In an empty Florida bed, it also changes the physical feel of the top few inches faster than mulch alone can. Quality compost should be dark, crumbly and earthy-smelling, with the original feedstocks mostly unrecognizable.
UF/IFAS guidance provides a useful range rather than one magic number. Compost Tips for the Home Gardener recommends 1 to 3 inches of finished compost mixed into the upper 4 to 6 inches. UF/IFAS guidance on organic amendments also describes a 2 to 3-inch layer mixed into an empty bed several weeks before planting. We would use 2 to 3 inches as a practical first pass for very sandy new vegetable ground, then evaluate the mix rather than automatically piling on more.
| Situation | Starting approach | How to use it |
|---|---|---|
| New, very sandy vegetable bed | About 2 to 3 inches of finished compost | Mix into roughly the upper 4 to 6 inches before planting |
| Existing annual bed | About 1 inch as needed | Top-dress between crops or incorporate lightly |
| Perennial or established planting | A thin surface layer | Keep it away from crowns, stems and trunks; cover with mulch if appropriate |
| Unknown manure-heavy compost | Small trial first | Check the source and consider soil or compost testing |
2. Use aged or composted horse manure carefully
Fresh manure is recently deposited and has not gone through a managed composting process. It can contain ammonium, soluble salts, viable weed seeds and human pathogens. Applying a heavy layer around seedlings can stress or burn plants, and placing it near edible crops creates a food-safety concern.
Aged manure has sat and partially broken down. It may smell milder, look darker and be gentler on plants than fresh material, but time alone does not prove that the entire pile reached a pathogen- and weed-seed-reducing temperature. Unless we have records of a managed composting process, we do not treat 'old-looking' as identical to fully composted.
Fully composted manure has been managed through decomposition with suitable carbon, moisture, oxygen, heat and turning or another validated system, then allowed to cure. Finished material should be stable and crumbly rather than hot, slimy or sharply ammonia-scented. Even good composted manure can be rich in salts or phosphorus, so more is not automatically better.
For edible beds, the simplest conservative practice is to prefer finished, well-sourced composted manure before planting and keep it off edible plant parts. The USDA National Organic Program's 90/120-day rule applies to certified organic production: raw manure must be incorporated at least 120 days before harvest when the edible portion contacts soil and at least 90 days for other food crops. Those are production standards, not a universal home-garden law, but they show why raw manure should never be treated casually. Home gardeners can reduce uncertainty by choosing properly composted manure and allowing time before planting.
Horse manure can also carry weed seeds or persistent herbicide residues that came through treated hay. Composting can reduce many weed seeds when the whole pile heats properly, but some herbicides can survive composting. If the hay or manure source is uncertain, test a small batch with fast-growing beans or peas before spreading it over every vegetable bed.
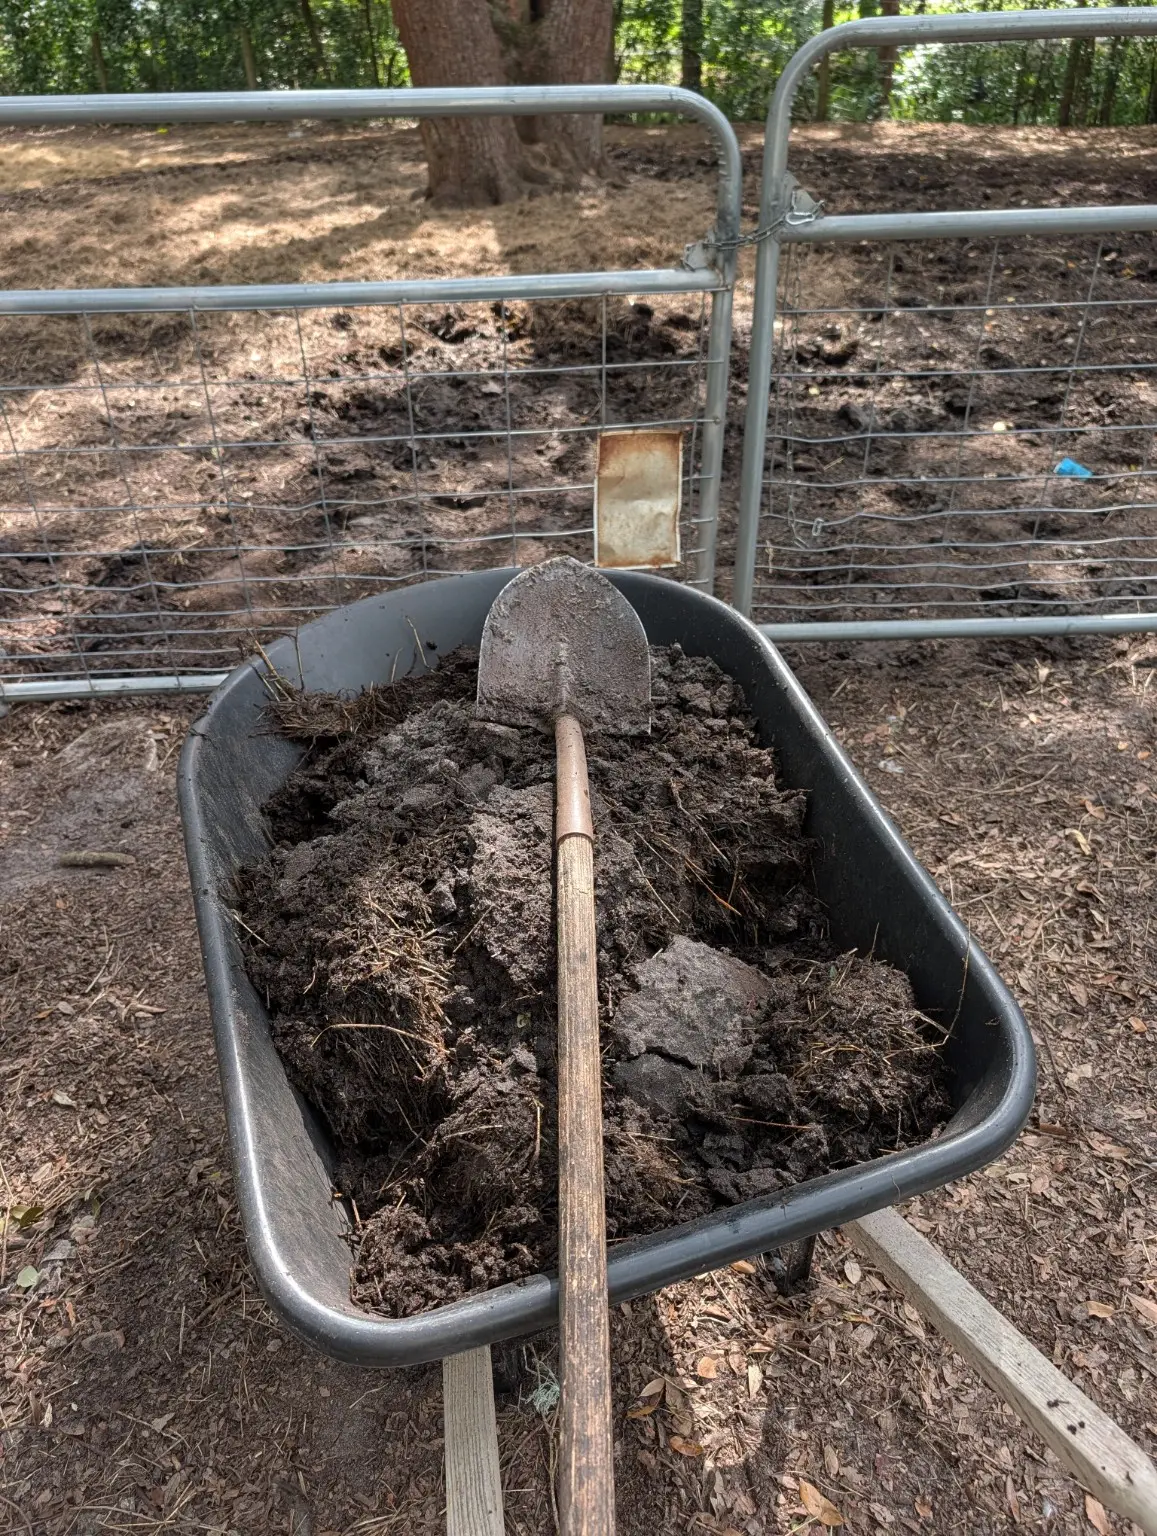
On our Florida homestead, some of the best amendment material is produced right in the horse pasture. We recently moved this wheelbarrow of dark, aged manure-rich organic material to a sandy garden area and worked it into the upper soil. That turns a ranch waste stream into a useful resource, but we still judge the material by its condition, source and intended crop. We mix it with other organic matter rather than expecting manure alone to create perfect soil.
3. Cover the soil with mulch, leaves and yard organic matter
Bare Florida sand loses water quickly because sun and moving air reach the surface. Mulch interrupts that loss. It also cushions heavy rain, moderates root-zone temperature, suppresses many weeds and supplies carbon as its lower layers decompose.
Wood chips, pine straw, clean straw, shredded leaves and shredded plant material can all work. Match the material to the area. Coarse arborist chips are excellent for paths, tree rings and perennial areas. Finer leaf mulch can fit vegetable beds. Keep mulch a few inches away from stems, crowns and tree trunks so it does not hold constant moisture against plant tissue.
Very woody mulch generally belongs on top of the soil, not buried through the planting zone. Soil microbes need nitrogen while decomposing high-carbon wood. Mixing a large volume of fresh chips into the root zone can temporarily reduce nitrogen available to crops; leaving the chips on the surface creates a protective blanket without the same degree of contact with crop roots.
- Use shredded leaves directly as mulch or add them to compost as a carbon source.
- Add grass clippings only in thin layers and only when the treatment history is known.
- Compost tough crop residues, diseased material or weed-seed-heavy material instead of burying it beside seedlings.
- Reapply mulch as it thins; decomposition is part of the benefit, not a failure.
4. Grow organic matter with cover crops
A garden bed does not have to sit bare between food crops. Cover crops protect the surface, send roots through the soil, feed soil life and return biomass when they are cut. Their roots are especially useful because they build organic matter in places a shovel does not distribute perfectly.
UF/IFAS identifies cowpeas and sunn hemp as useful warm-season legumes for Florida gardens; cover-crop choice still depends on region, season, nematode concerns and how you plan to terminate the stand. A small home bed does not need an enormous species list. Choose one crop with a clear job, seed it at the right time and have a plan to cut it before it becomes woody or produces unwanted seed.
5. Biochar, peat moss and coconut coir are supplements, not the foundation
Biochar is a porous, carbon-rich material produced by heating biomass with limited oxygen. Some biochars may improve nutrient or water retention in certain sandy soils, but products differ by feedstock and manufacturing temperature. Results are not automatic, and a handful of charcoal is not a substitute for compost, mulch or irrigation management.
If we use biochar, we prefer a labeled horticultural product, start with a small test area and pre-wet or blend it with finished compost before it reaches the bed. That gives the pores contact with moisture and nutrients rather than adding a dusty dry material and hoping for a miracle. Follow the product rate; do not use barbecue briquettes or ash as a substitute.
Peat moss and coconut coir can increase moisture retention in a raised bed or container mix. Peat is effective but mined from slow-forming ecosystems, while coir is a renewable coconut by-product that still carries processing, shipping and sometimes salt-quality considerations. Both cost money and eventually break down. We view them as useful ingredients for a particular bed or pot, not the main long-term answer for an in-ground Florida garden.
What not to add to sandy soil
Sandy soil encourages dramatic fixes because the starting material looks so poor. The most common mistakes come from adding too much, too fast or without knowing what the material contains.
| Avoid | Why it can cause trouble | Better move |
|---|---|---|
| A huge load of fresh manure | Ammonium, salts, pathogens and weed seeds can stress plants or contaminate food | Compost it properly or use a conservative pre-harvest interval |
| Extra fertilizer after every hard rain | More may leach, burn roots or pollute water | Test, use crop-specific rates and split applications |
| Thick wood-chip layers buried in the root zone | Decomposition can tie up plant-available nitrogen | Keep coarse woody mulch on the surface |
| Random clay dumped into sand | Poor mixing can create dense clods or drainage contrasts | Build organic matter or use a tested soil blend |
| A compost-filled tree hole | Roots may remain in the pocket and water movement can differ at the boundary | Plant with native backfill and improve the wider surface |
| Constant shallow watering | Roots stay near the surface while water and nutrients keep moving | Wet the active root zone, then recheck actual moisture |
Should you till compost into sand?
During initial bed creation, mixing finished compost into the upper 4 to 6 inches gives roots an improved zone immediately. A shovel, digging fork or one restrained tillage pass can distribute it. This is also the time to remove aggressive perennial weeds and correct obvious compaction from vehicles or construction.
Once the bed is established, repeated deep tilling is rarely necessary. It disturbs roots and fungal networks, brings buried weed seeds upward and can break down soil structure faster. A top-dressing between crops, light incorporation at the surface and a mulch layer may be enough.
No-till and tillage are tools, not teams. We would mix amendments into new sand when creating a vegetable bed, then reduce disturbance as the bed develops. If residue, weeds or compaction create a specific problem, we address that problem instead of following an ideology.
How to make sandy soil hold water longer
Start below and above the surface. Finished compost in the root zone increases water-holding capacity. Mulch above it reduces evaporation and protects the darker amended layer from direct sun. Together they work better than either one alone.
Drip irrigation or a carefully placed soaker system delivers water near roots with less leaf wetting and less wasted spray. Run it long enough to moisten the active root depth, then check with a finger, trowel or soil probe rather than trusting the dry-looking top quarter-inch. A rigid daily schedule ignores plant size, cloud cover, rainfall and season.
- Build organic matter through the full annual-crop root zone.
- Keep bare soil covered with mulch or a living cover.
- Use irrigation that targets the bed instead of the surrounding sand.
- Check moisture below the surface before watering again.
- Adjust after rain, cool weather, transplanting and major plant growth.
How to keep nutrients from washing through sand
Organic matter improves the soil's ability to retain nutrients, but fertilization still needs to match the crop. Florida vegetable guidance emphasizes managing nitrogen and potassium carefully because both are prone to leaching in sandy soil. On Florida sandy soils, split nutrient applications may reduce loss compared with one oversized dose, but the rate, nutrient, crop, soil test and current local fertilizer restrictions still control the plan.
Avoid irrigating fertilizer past the roots. Place fertilizer according to the crop and label, keep it away from direct seed contact unless the product specifically allows that use, and adjust after a soil test. If plants look pale, diagnose before feeding; root damage, high pH, saturated soil and disease can resemble a nutrient shortage.
Test Florida soil before you keep amending it
A Florida soil test can report pH and plant-available nutrient status and can provide crop-based lime or fertilizer recommendations, depending on the package selected. Sample the bed itself, not a random mix of lawn, path and garden, and tell the lab what you intend to grow. Your county UF/IFAS Extension office can help with sampling and interpretation.
A standard fertility test is not a complete soil-health report. It does not automatically describe aggregation, compaction, infiltration, earthworm activity, beneficial organisms or every contaminant. Check exactly what the selected test includes; organic matter or soluble salts may require a particular package or additional test.
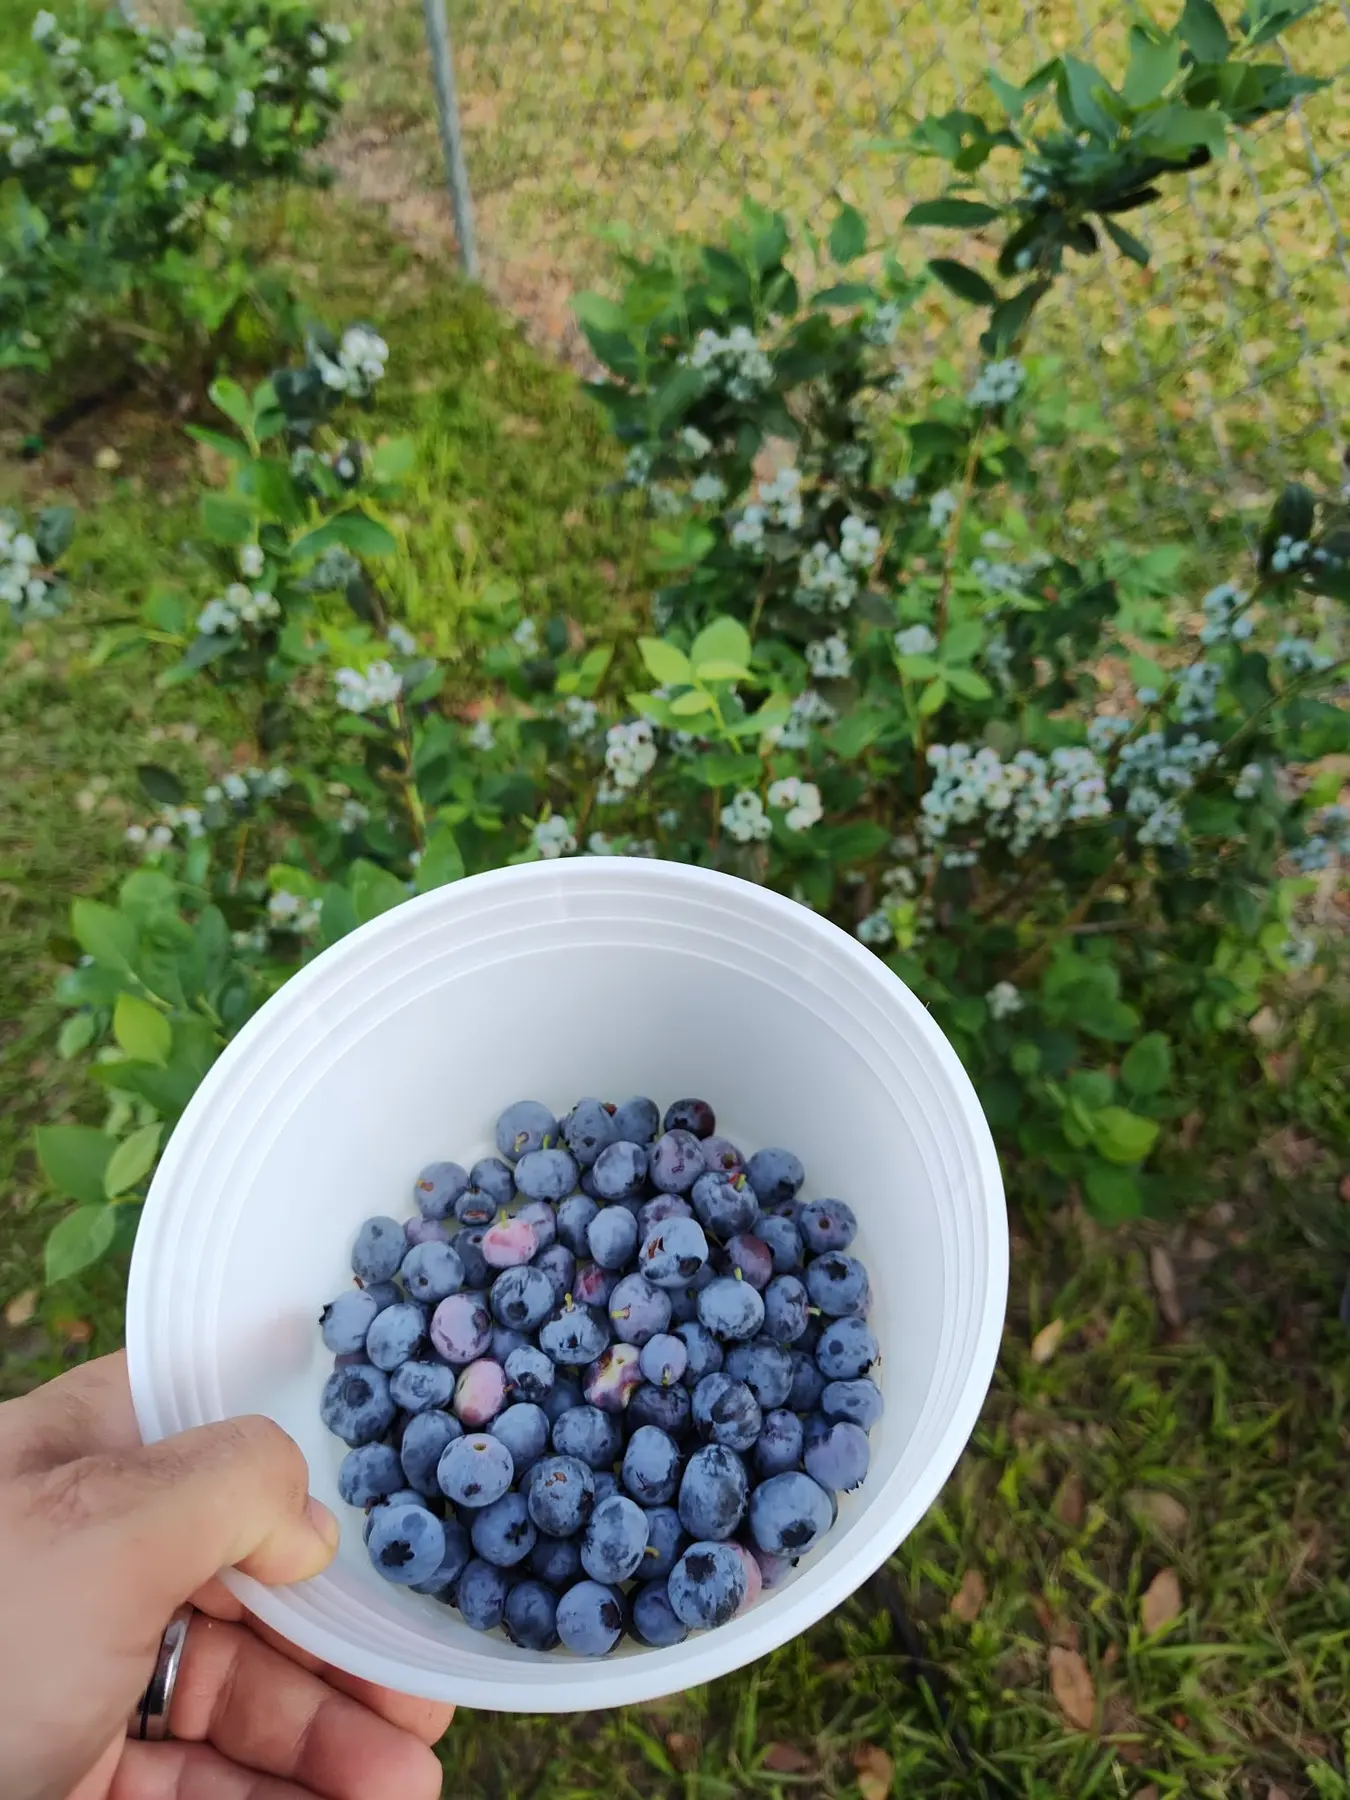
Not all Florida sand has the same pH. Native parent material, limestone or shell, irrigation water, fill soil, fertilizer and years of amendments can all shift it. UF/IFAS lists about 5.8 to 6.3 as the best range for many vegetable and flower gardens on sandy soil, but crop needs differ, blueberries are the obvious exception on our homestead. Test first instead of assuming every Florida yard is acidic or alkaline.
Our blueberries taught us that one corrected pH reading is not a permanent soil system. We watched their root-zone pH move from about 8.1 down into the acidic range and later rise again, eventually reaching roughly 7.6 to 8.5. We returned the bushes to containers so the growing medium was easier to manage. That experience is one reason we test and observe rather than treating any amendment as permanent.
Vegetables and fruit trees that can use improved sandy soil
Peppers, okra, southern peas or beans, sweet potatoes and many herbs can perform well in a Florida bed when their season, water and nutrition are right. Tomatoes can also grow strongly, but they need consistent moisture and crop-specific fertility. Soil improvement does not override the planting calendar; a cool-season crop still struggles in summer heat.
Fruit trees require a different approach from annual vegetable beds. Do not excavate a giant hole and replace it with rich compost. That creates a sharply different pocket where water movement and root behavior can change at the boundary. UF/IFAS tree-planting guidance favors a wide, shallow hole, the root flare at the correct height and backfill based on the native soil rather than a pot of compost underground.
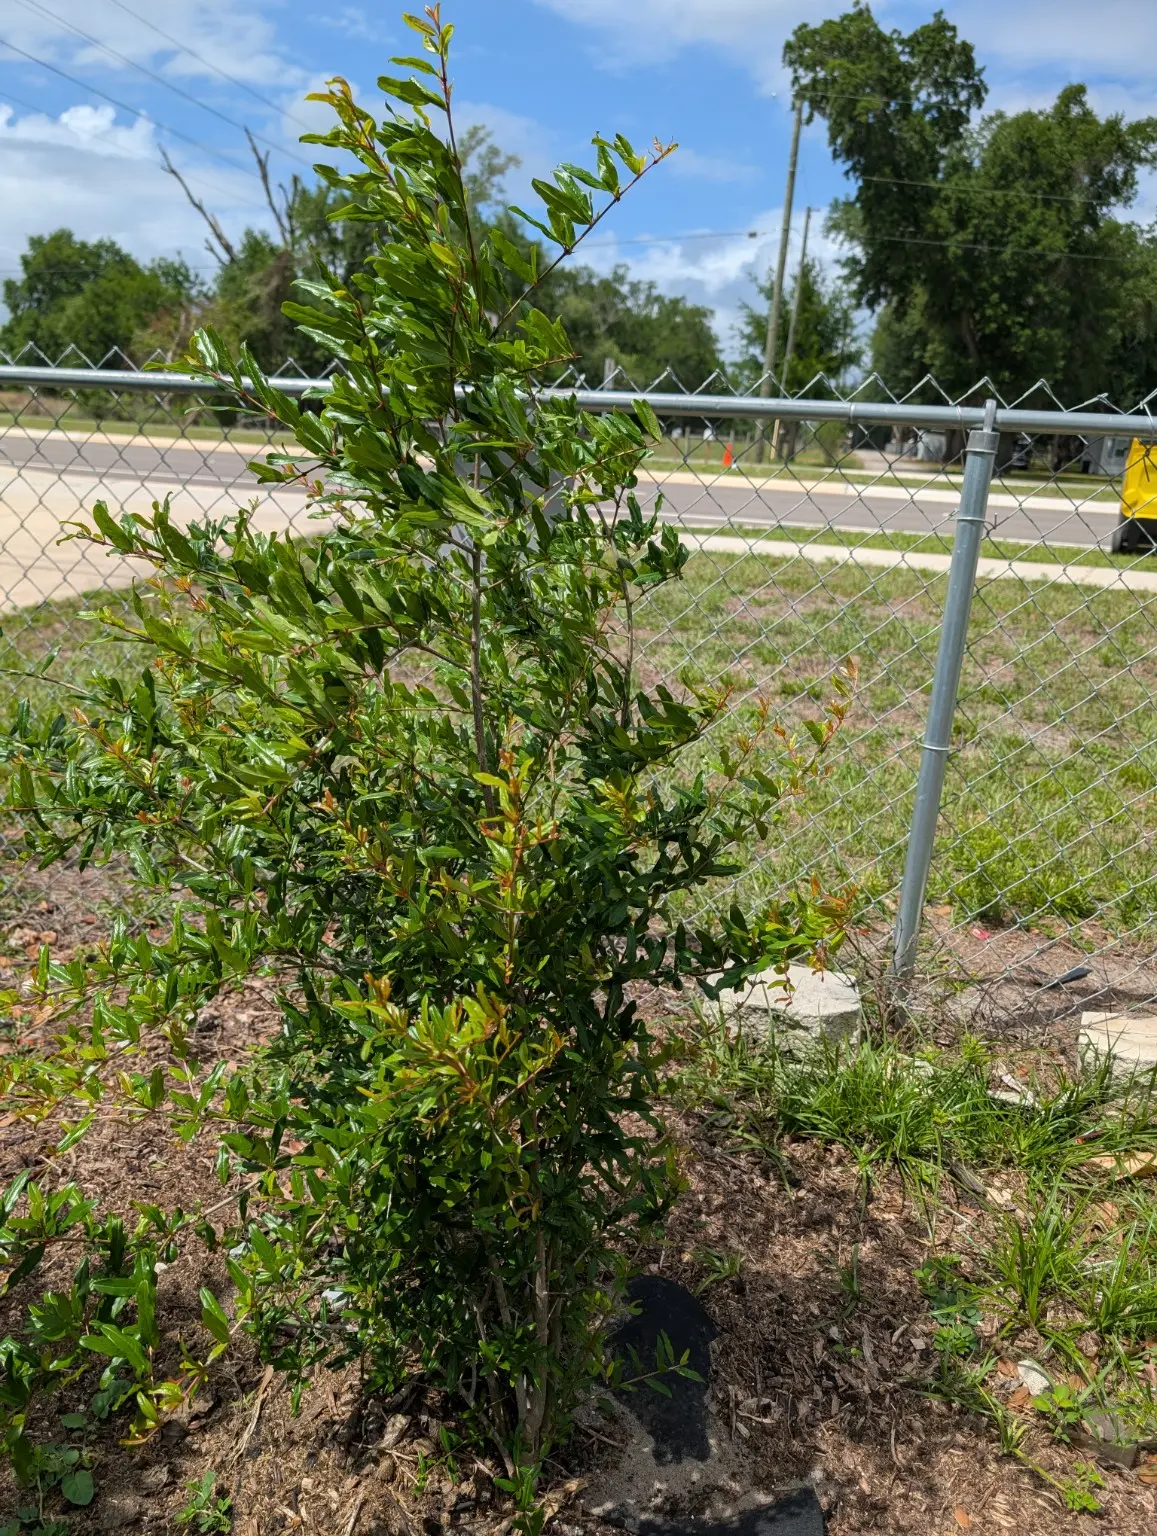
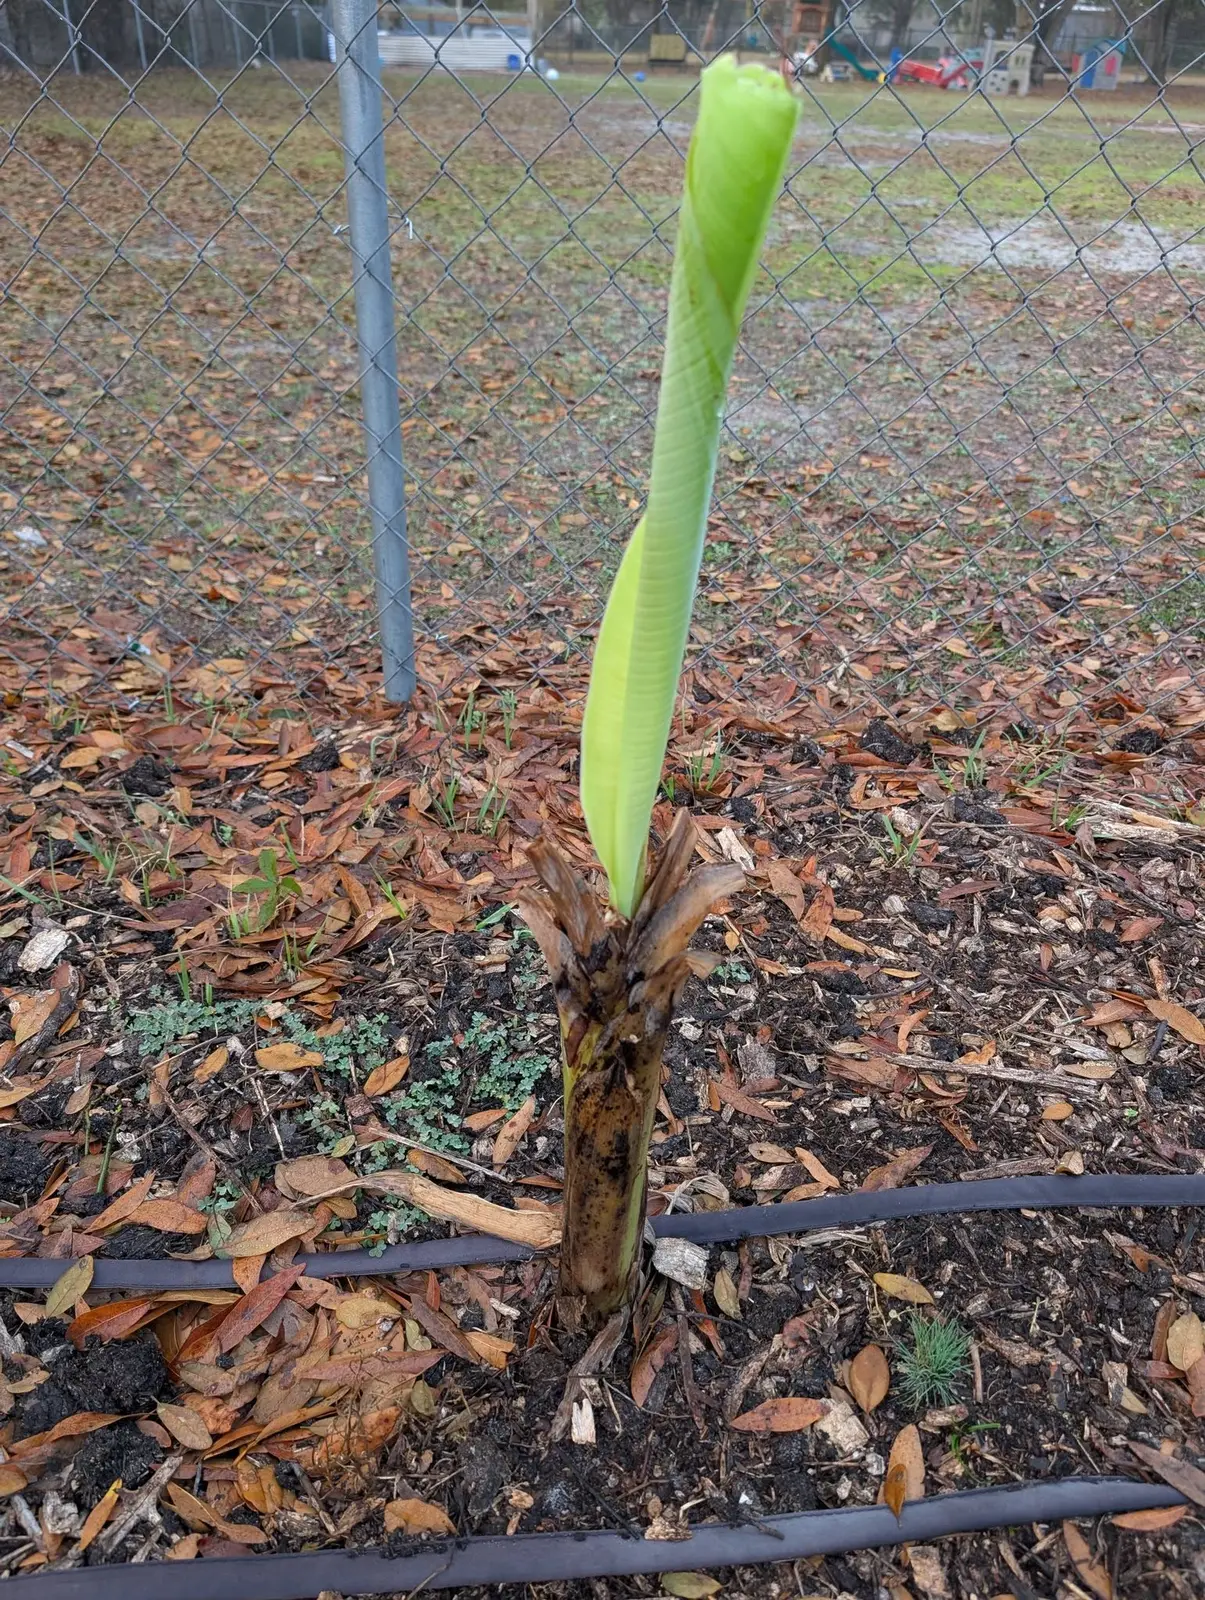
For an orchard, improve the wider surface over time with mulch, appropriate compost and living groundcover while keeping material away from the trunk. Match the species and rootstock to the site's drainage and pH. Our bananas, mulberries, citrus, loquat, pomegranates and other fruit plantings do not all want the same root-zone conditions.
How we would improve a new sandy Florida garden bed
This is the practical sequence we would use for a new in-ground annual bed. It creates a good first root zone without overstating the work ends on planting day.
- 1. Remove aggressive weeds and as much of their root system as practical.
- 2. Take a representative soil sample before adding lime, fertilizer or repeated manure.
- 3. Loosen the upper soil only if traffic, construction or equipment has compacted it.
- 4. Spread roughly 2 to 3 inches of quality finished compost as a starting point.
- 5. Add a moderate amount of properly composted manure if its source and condition are suitable; blend it with plant-based compost rather than making the bed mostly manure.
- 6. Mix the amendments into roughly the upper 4 to 6 inches for initial bed creation, ideally several weeks before planting.
- 7. Plant crops suited to your Florida region and current season.
- 8. Water the actual root zone thoroughly, then recheck moisture instead of following a blind schedule.
- 9. Add an appropriate mulch layer, leaving breathing room around stems and crowns.
- 10. Top-dress between crops and continue adding organic matter every season.
The cheapest ways to improve Florida sandy soil
The cheapest amendment is usually the clean organic material already moving through your property. Kitchen scraps and yard debris can become finished compost. Shredded leaves can become mulch or leaf mold. Untreated crop residue can feed a compost pile. Livestock manure and bedding can become a resource after correct handling.
Local arborists may deliver wood chips at little or no cost, but ask what species and material are included, provide a safe dump location and use coarse chips mainly on the surface. Free manure deserves the same source questions as purchased manure: What did the animals eat? Was the hay treated with a persistent herbicide? Is the pile aged or actually composted? Free material is expensive if it damages every tomato and bean plant.
| Material | Best use | Main caution |
|---|---|---|
| Homemade finished compost | Initial amendment and top-dressing | Use only finished material in the root zone |
| Aged livestock material | Compost feedstock or cautious pre-plant amendment | Aged is not automatically pathogen-safe compost |
| Shredded leaves | Surface mulch or compost carbon | Whole leaves may mat or blow |
| Clean grass clippings | Thin mulch layers or compost nitrogen | Know all herbicide treatments |
| Arborist wood chips | Paths, tree rings and perennial mulch | Keep coarse chips on top, away from trunks |
| Cover crops | Living cover and future biomass | Choose for season and plan termination |