Choose the coop site after sun and rain have tested it
Walk the proposed location in the late afternoon, when Florida heat is often most revealing. Note whether nearby trees, buildings or shade cloth actually protect the birds without blocking every breeze. Then inspect the area during or immediately after hard rain. Water crossing the site, standing under the doorway or pouring from a roof edge will not become easier after birds and bedding are added.
Keep the coop reachable when the yard is wet and when chores happen after dark. A direct route for feed, water, litter removal and emergency carriers matters. Avoid placing a light structure beneath obviously hazardous limbs, in a known flood pocket or where a downspout empties.
Check local zoning, setbacks, structural rules, HOA or deed restrictions and utility locations before building. A county mailing address does not always reveal the municipality or private restrictions that apply to the property.
- Observe deep afternoon shade, not only morning shade.
- Trace roof and yard runoff before choosing the door location.
- Leave enough access to repair the roof, wire and digging edge.
- Plan where manure, wet litter and cleaning water will go.
Size the usable adult system, not the product label
Extension recommendations are useful starting points, but the smallest published number should not become the automatic design target. University of Minnesota guidance describes roughly 3 to 5 square feet of indoor space per laying hen. Breed size, time confined, climate, feeder placement, flock behavior and usable outdoor space can justify more.
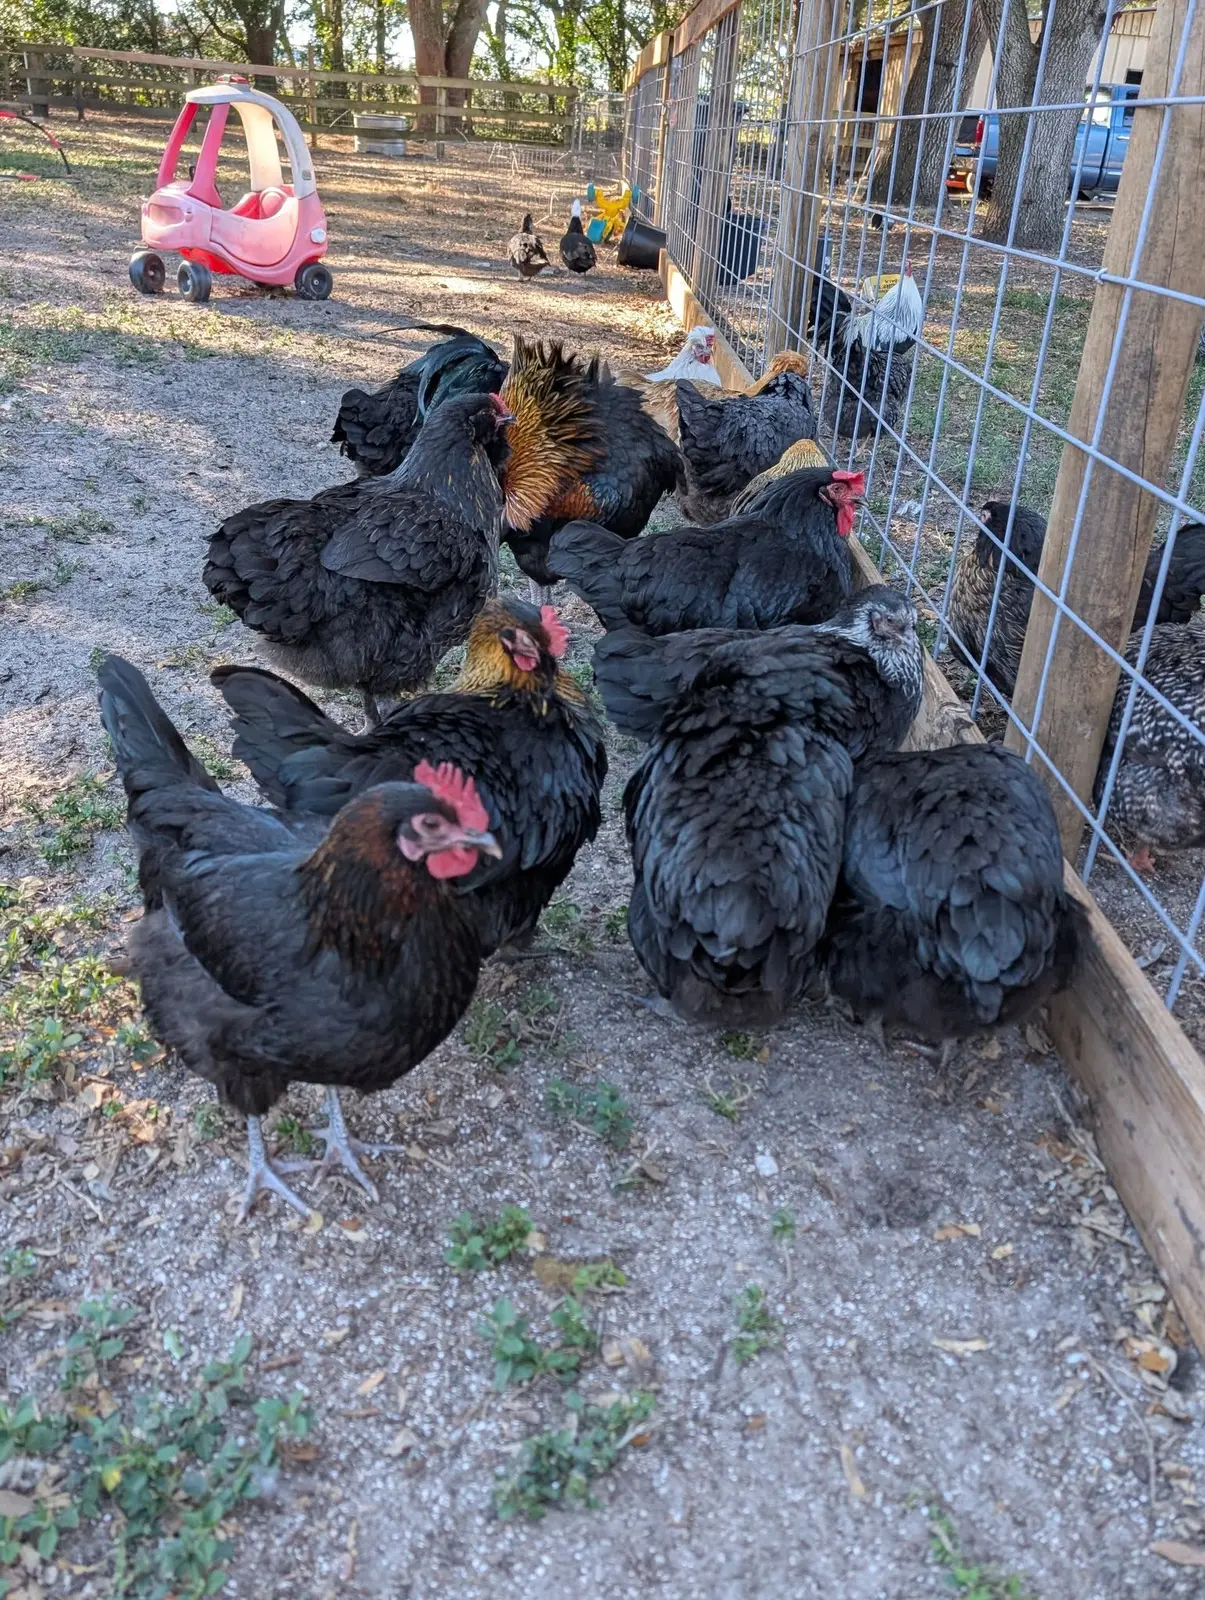
Count only floor the chickens can actually use. Nest boxes, a bulky feeder, a waterer and areas beneath low obstructions reduce movement. Crowding also concentrates heat, moisture, manure and competition around resources.
Decide the maximum adult flock before framing the coop. If the property may eventually hold more birds, it is safer to build a deliberate expansion point than to keep squeezing birds into the original footprint.
| Part | Measure or observe | Florida pressure |
|---|---|---|
| Indoor floor | Usable space after equipment | Heat, humidity and confinement |
| Roost | Room for every adult to settle | Crowding and nighttime airflow |
| Run | Shade, dry refuge and movement | Sun, rain and bare soil |
| Openings | Protected inlet and high exhaust | Hot still air and storm-driven rain |
| Doors | Bird and human access | Cleaning, carriers and emergency checks |
Build shade and passive airflow into the structure
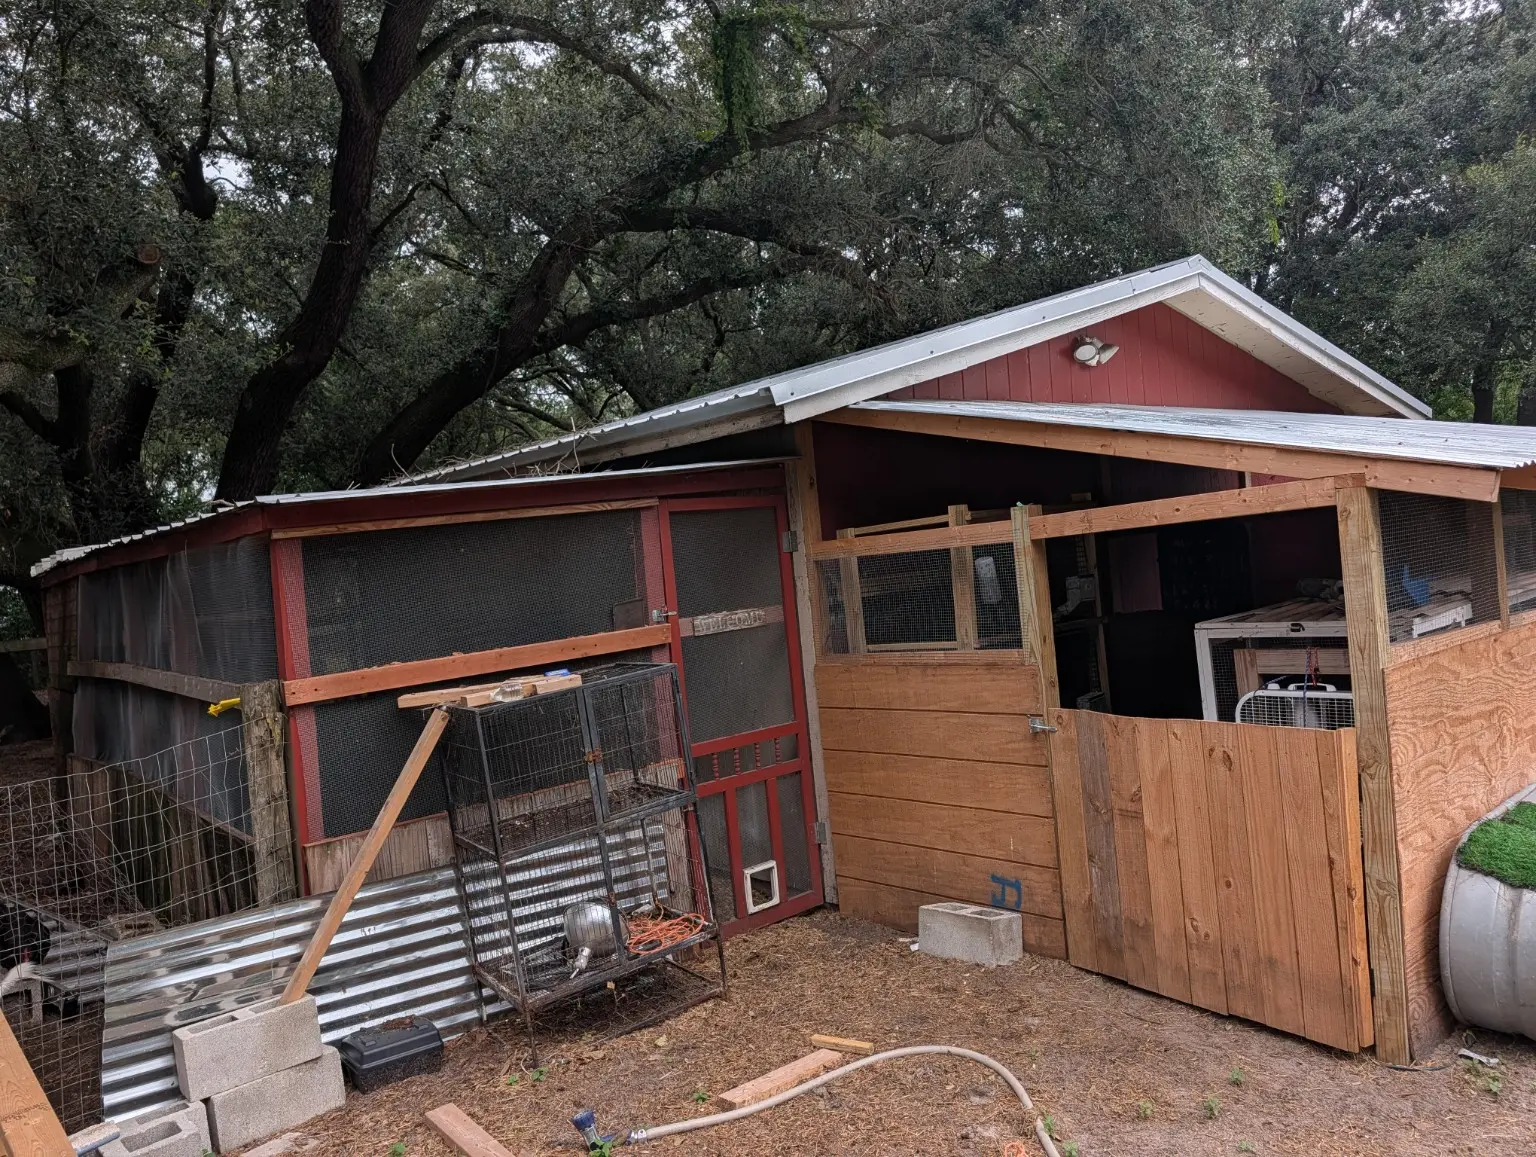
A coop needs a complete air path. Cooler outside air needs a protected way in, and rising warm, moist air needs a high way out. One decorative vent cannot do much when the rest of the box is closed. Large screened openings, roof-level exhaust and an orientation that uses ordinary breezes are stronger foundations.
Shade the structure as well as the run. A roof that absorbs full sun can radiate heat toward the roost even when the ground beside it is shaded. Roof overhangs, protected vents and correctly placed solid panels can reject sun and rain without sealing the coop.
A safely installed fan may help, but the coop should not become immediately dangerous when power fails. Protect wiring from birds, dust and water, follow equipment instructions and use a qualified electrician when permanent power work is needed.
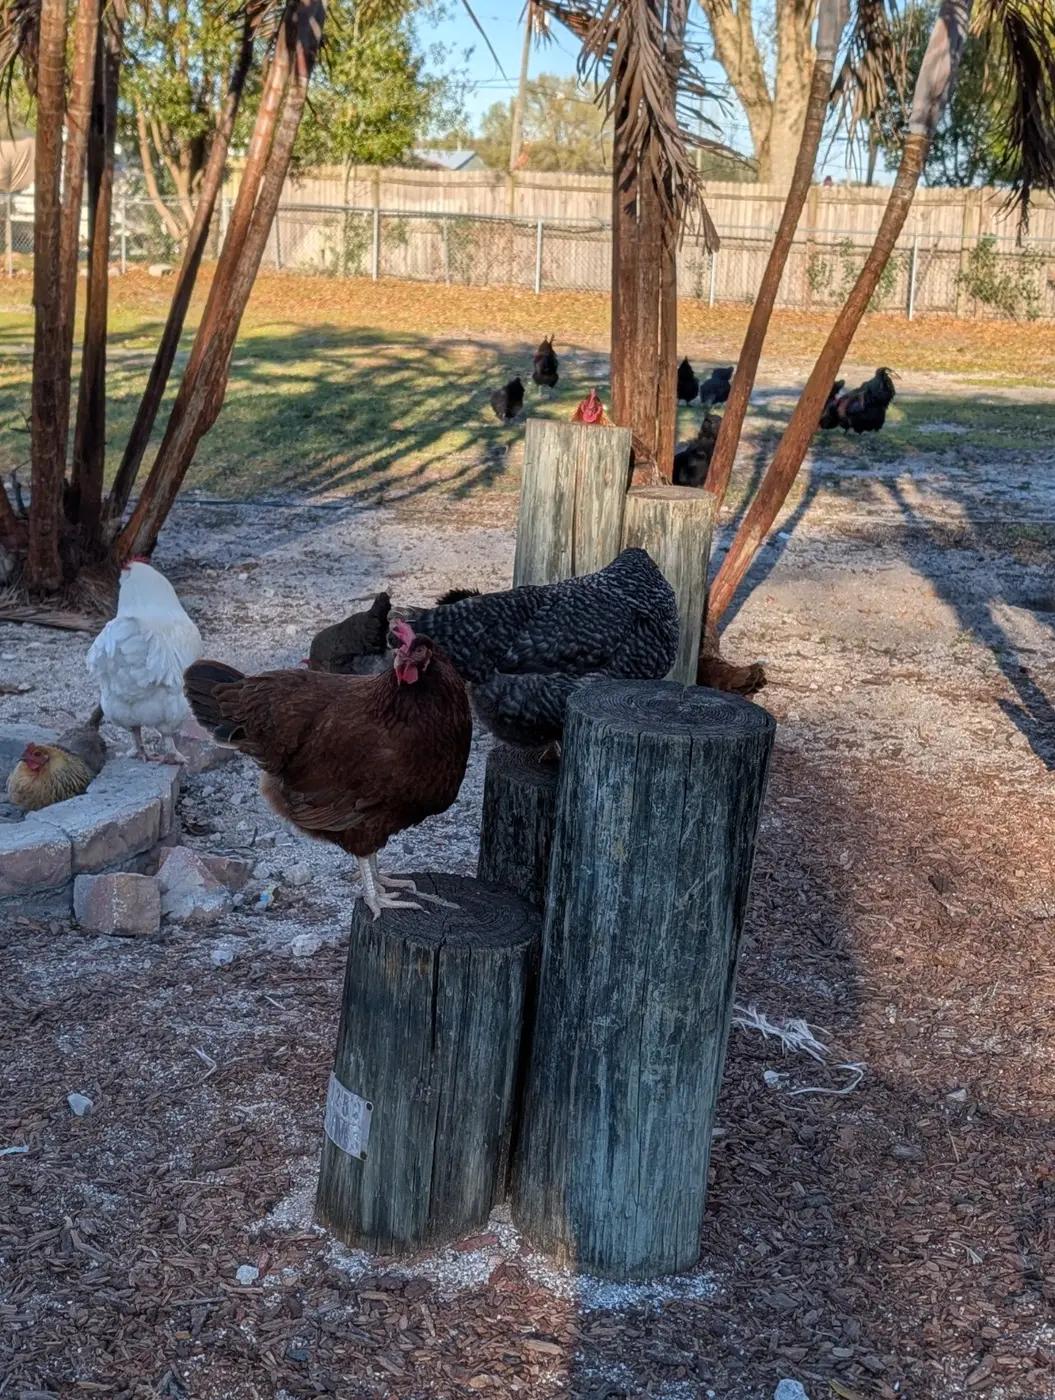
Secure the coop as a six-sided enclosure
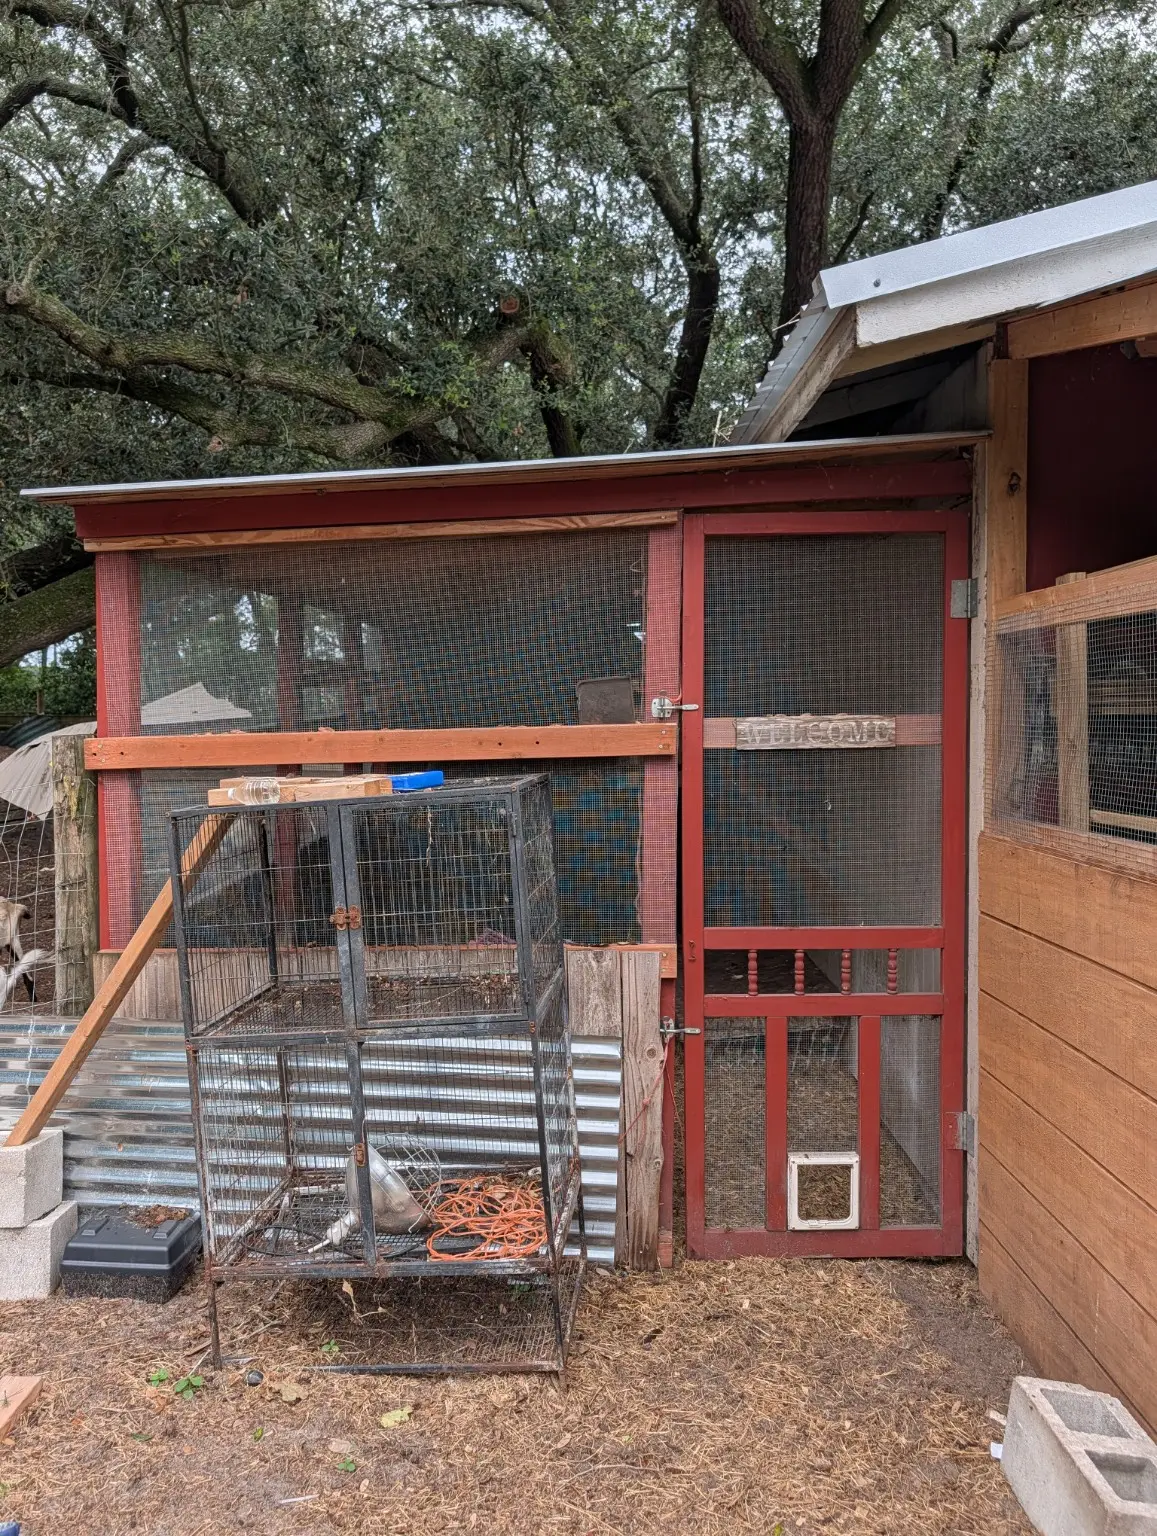
Predators do not recognize the front of the coop as the official entrance. They reach through, climb, dig, squeeze, lift weak edges and test simple latches. Treat walls, roof, floor or perimeter edge, doors, windows and ventilation openings as one security envelope.
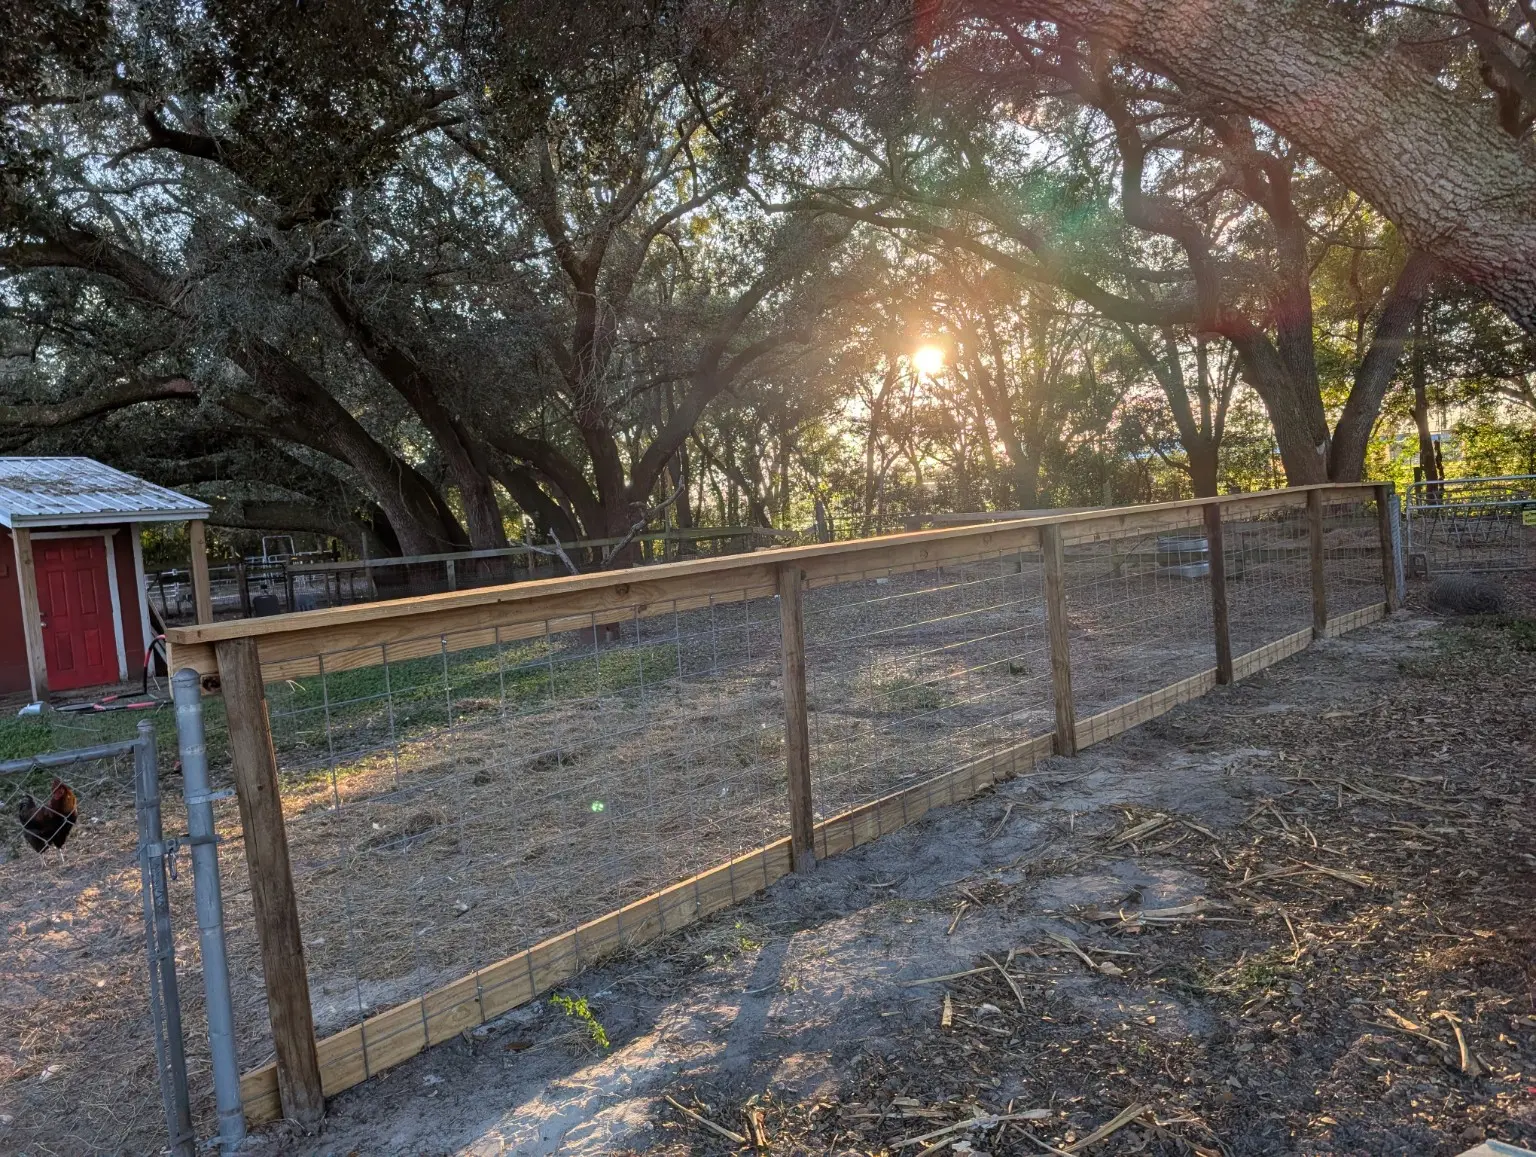
UF/IFAS predator guidance emphasizes secure structures, covered runs, nighttime confinement, attractant removal and ongoing inspection. Chicken wire can contain birds but is not a complete predator barrier. Sturdy small-opening mesh should be attached to framing with hardware suited to the load rather than held only by a few light staples.
Use closures that require more than one easy pull or slide, and test them with your own hands. Automatic doors reduce labor but still need a physical evening count and closure check.
- Inspect roof-to-wall joints and every utility opening.
- Address digging at the perimeter with a site-appropriate plan.
- Keep spilled feed, rodents and clutter from inviting repeated visits.
- Recheck fasteners after storms, rust, soil movement or an attempted entry.
Place roosts and nest boxes for birds and cleaning
Chickens need a stable roost with enough linear room for the flock. University of Minnesota guidance uses about nine inches per chicken as a general starting point, while exact needs vary with bird size and layout. Avoid placing the highest sleeping spot directly over the nest boxes, feeder or waterer.
Penn State describes chicken nests around 12 by 12 inches as a common size. Nest count, entrance and placement should let hens use the boxes without creating one crowded bottleneck. Keep nests lower than preferred roosts and accessible for egg collection and litter replacement.
Stand where the person doing chores will stand. If every cleaning requires crawling under a roost, lifting a full waterer over a threshold or reaching through a narrow opening, routine care will suffer. A human-size cleanout door can be as important as another decorative chicken door.
Keep roof water, drinking water and litter from becoming one wet problem
Direct roof water away before adding surface material. Gutters, overhangs, downspout extensions, grade corrections or drainage work may be appropriate depending on the site. Do not send water toward a neighbor, foundation, septic component or another animal area.
Inside the coop, use a dry, manageable litter system and remove wet areas rather than burying a leak indefinitely. Waterers should be stable and easy to inspect. Persistent dampness, condensation or ammonia odor means the moisture source, cleaning routine and ventilation need attention.
Outside, preserve at least one elevated or roof-protected dry refuge. High-traffic areas near doors and waterers wear first. Fix the water path, then choose an appropriate replaceable surface instead of expecting one truckload of material to solve active runoff forever.
Our native soil is sandy, but repeated feet, spilled water and roof runoff can still create wet high-traffic spots. Sand alone is not a guarantee of a dry chicken area.
Use a repeatable coop inspection instead of waiting for failure
A well-built coop still changes. Mesh loosens, wood swells, latches shift, shade moves, rodents create openings and storms drive rain from a new direction. A short recurring inspection catches those changes while they are repairs instead of emergencies.
- Daily: count birds, verify water, check feed and secure every closure.
- Weekly: remove wet litter, inspect nests, smell at bird level and look for digging or chew marks.
- Monthly: test latches, mesh attachments, roof edges, doors and the drainage path.
- Before summer: watch afternoon shade and confirm passive and powered airflow.
- Before hurricane season: inspect anchors, roof condition, carriers and the alternative shelter plan.
- After severe weather: keep people out until hazards are assessed, then check structure, water, feed and birds methodically.
Build a cleaning boundary into the coop entrance
Coop access should include a place for poultry-only footwear and an outdoor equipment-cleaning area. CDC recommends keeping poultry equipment outside the home, washing hands after contact and reserving shoes for poultry chores. USDA APHIS also emphasizes controlling the clothing and equipment entering bird areas. These requirements affect where the entrance, tool storage and water supply belong; they are easier to plan before the coop is filled.
Walk one complete cleaning job on paper: remove litter, carry it out, clean the scoop and containers outdoors, return equipment to its poultry storage, leave dedicated footwear and wash hands. A practical design keeps that route away from food preparation and household play areas. If the only available washing place is the kitchen sink, redesign the cleaning route before buying birds. This route test is a planning application of the official guidance, not a prescribed coop blueprint.
- Set aside a labeled storage place for poultry tools rather than borrowing household brushes and buckets.
- Keep the handwashing route accessible after a muddy chore; it should not require touching kitchen supplies first.
- Check that outdoor cleaning remains reachable during heavy rain without sending dirty equipment through the house.
- Show the routine to the person who will cover chores when you are away.
Original researched synthesis, not a documented DTR trial. U.S. backyard poultry public-health guidance; design-route examples are editorial applications. U.S. poultry biosecurity; no site-specific disease risk assessment.
Reserve a separate adult-ready space before increasing the flock
An empty nest box or spare corner in the main coop is not a new-bird separation plan. CDC recommends keeping incoming poultry apart from the established flock for at least 30 days, using separate equipment or cleaning between groups and caring for the established flock first. Include a separate, secure enclosure in the housing budget before agreeing to take more birds.
Run the same practical checks on that enclosure as on the main coop: adult birds must have shelter, water, feed, cleaning access and reliable overnight security. UF/IFAS emphasizes sturdy openings, covered runs and regular inspection for gaps and predator activity. A temporary pen that is easy to reach through or impossible to lock is not ready simply because it will be used for a short time.
Before birds arrive, rehearse two separate chore routes. Can the helper identify which scoop and water container belongs to each group? Can feed be delivered without entering the established enclosure afterward in the same dirty footwear? If there is insufficient room or equipment to maintain the separation routine, postpone the flock addition instead of making the main coop more crowded. Seek local poultry guidance for the separation layout; distance and site conditions matter.
Original researched synthesis, not a documented DTR trial. U.S. backyard poultry public-health guidance; design-route examples are editorial applications. U.S. poultry biosecurity; no site-specific disease risk assessment. Florida backyard poultry; separate-pen rehearsal is an editorial decision aid.
Make cleaning and disinfection separate jobs
Removing droppings and dirt comes before disinfection. CDC explains that most disinfectants do not work when applied directly to a dirty surface. Clean poultry equipment outdoors, then use a product intended for the job and follow its dilution, contact-time and rinse instructions. Allow cleaned surfaces to dry before reuse. A quick spray over wet litter is not the same process.
Keep the product label with the cleaning plan so a helper can check the required timing. Choose a place where equipment can remain out of service while it is cleaned and dried; arrange replacement water containers so birds retain clean drinking water during the job. This is a practical application of the CDC sequence, not a claim that one product or schedule fits every coop.
Original researched synthesis, not a documented DTR trial. U.S. backyard poultry public-health guidance; design-route examples are editorial applications.